USER MANUAL FOR META QUEST
Human-Robot TeleOperation for Meta Quest
Latest version: download
Tianji | KernalMind
Open app
Uninstall the previous Apex_teleop app, then install the current .apk to your headset. Open app with two controllers keeping tracked. Agree to popups.
Check your setups
Battery
Make sure your headset battery is above 20%, or the warning message would pop up and you may not start using teleoperation for safety concerns.
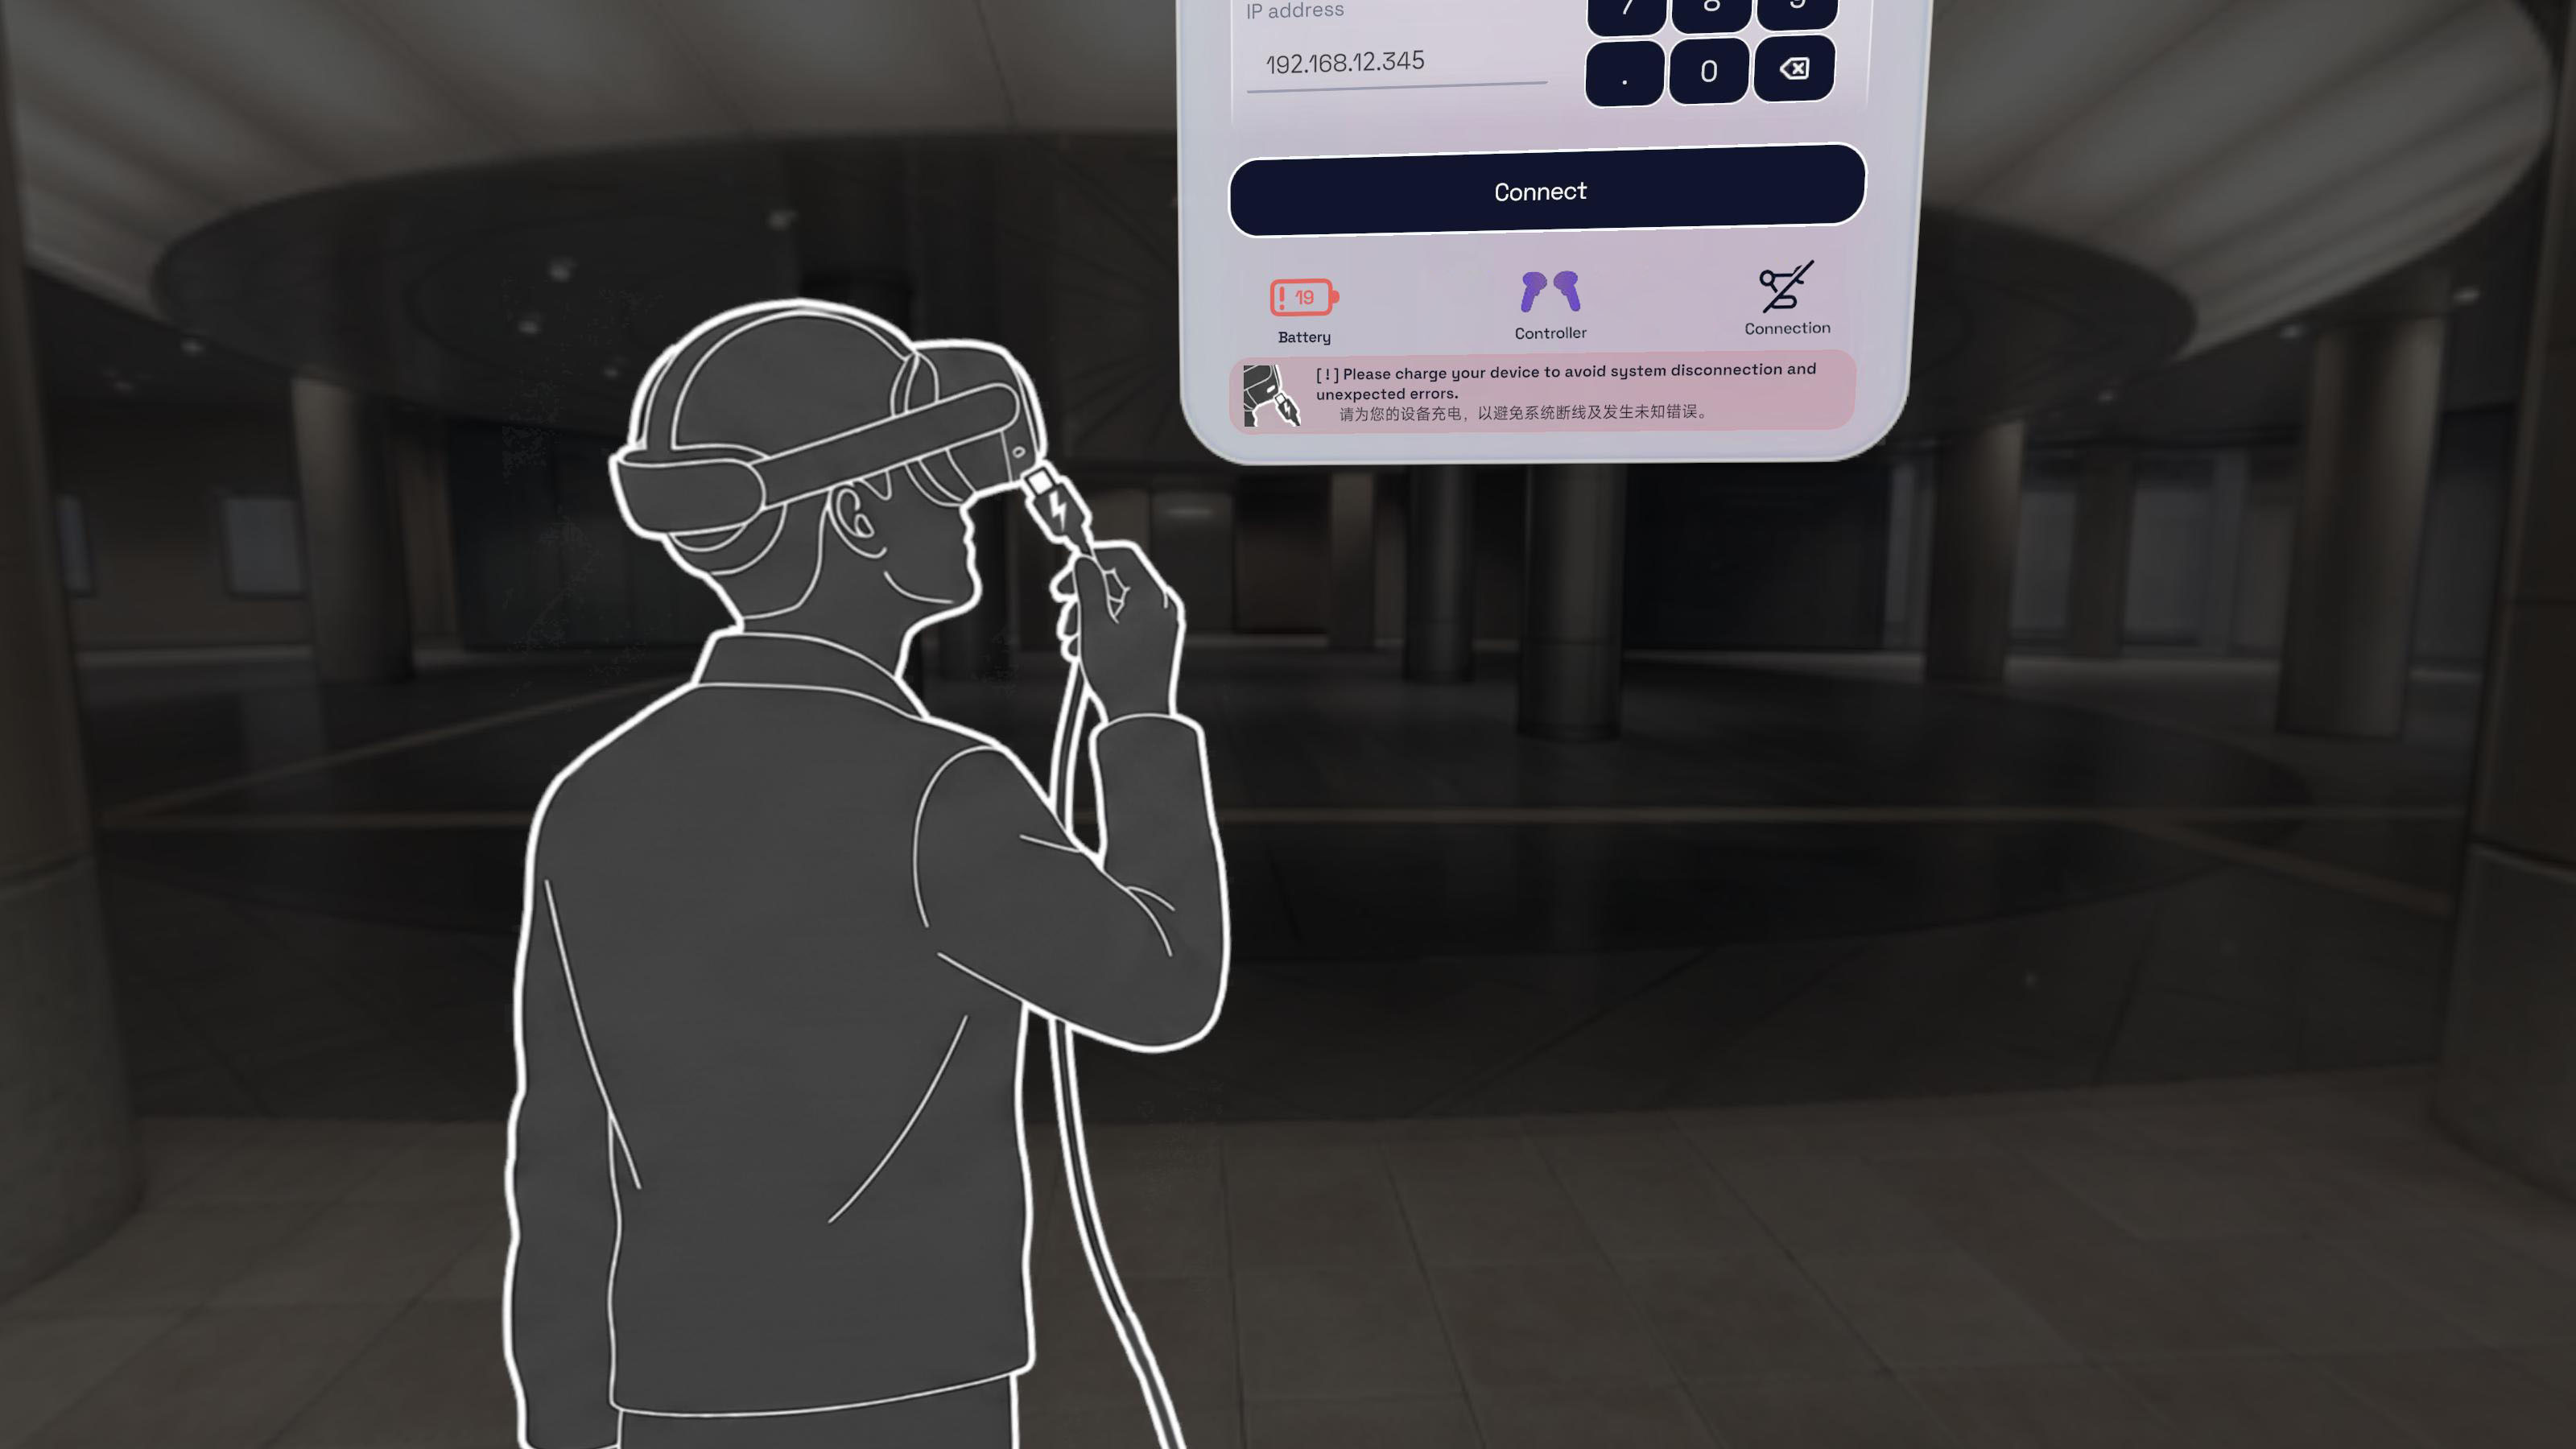
Internet
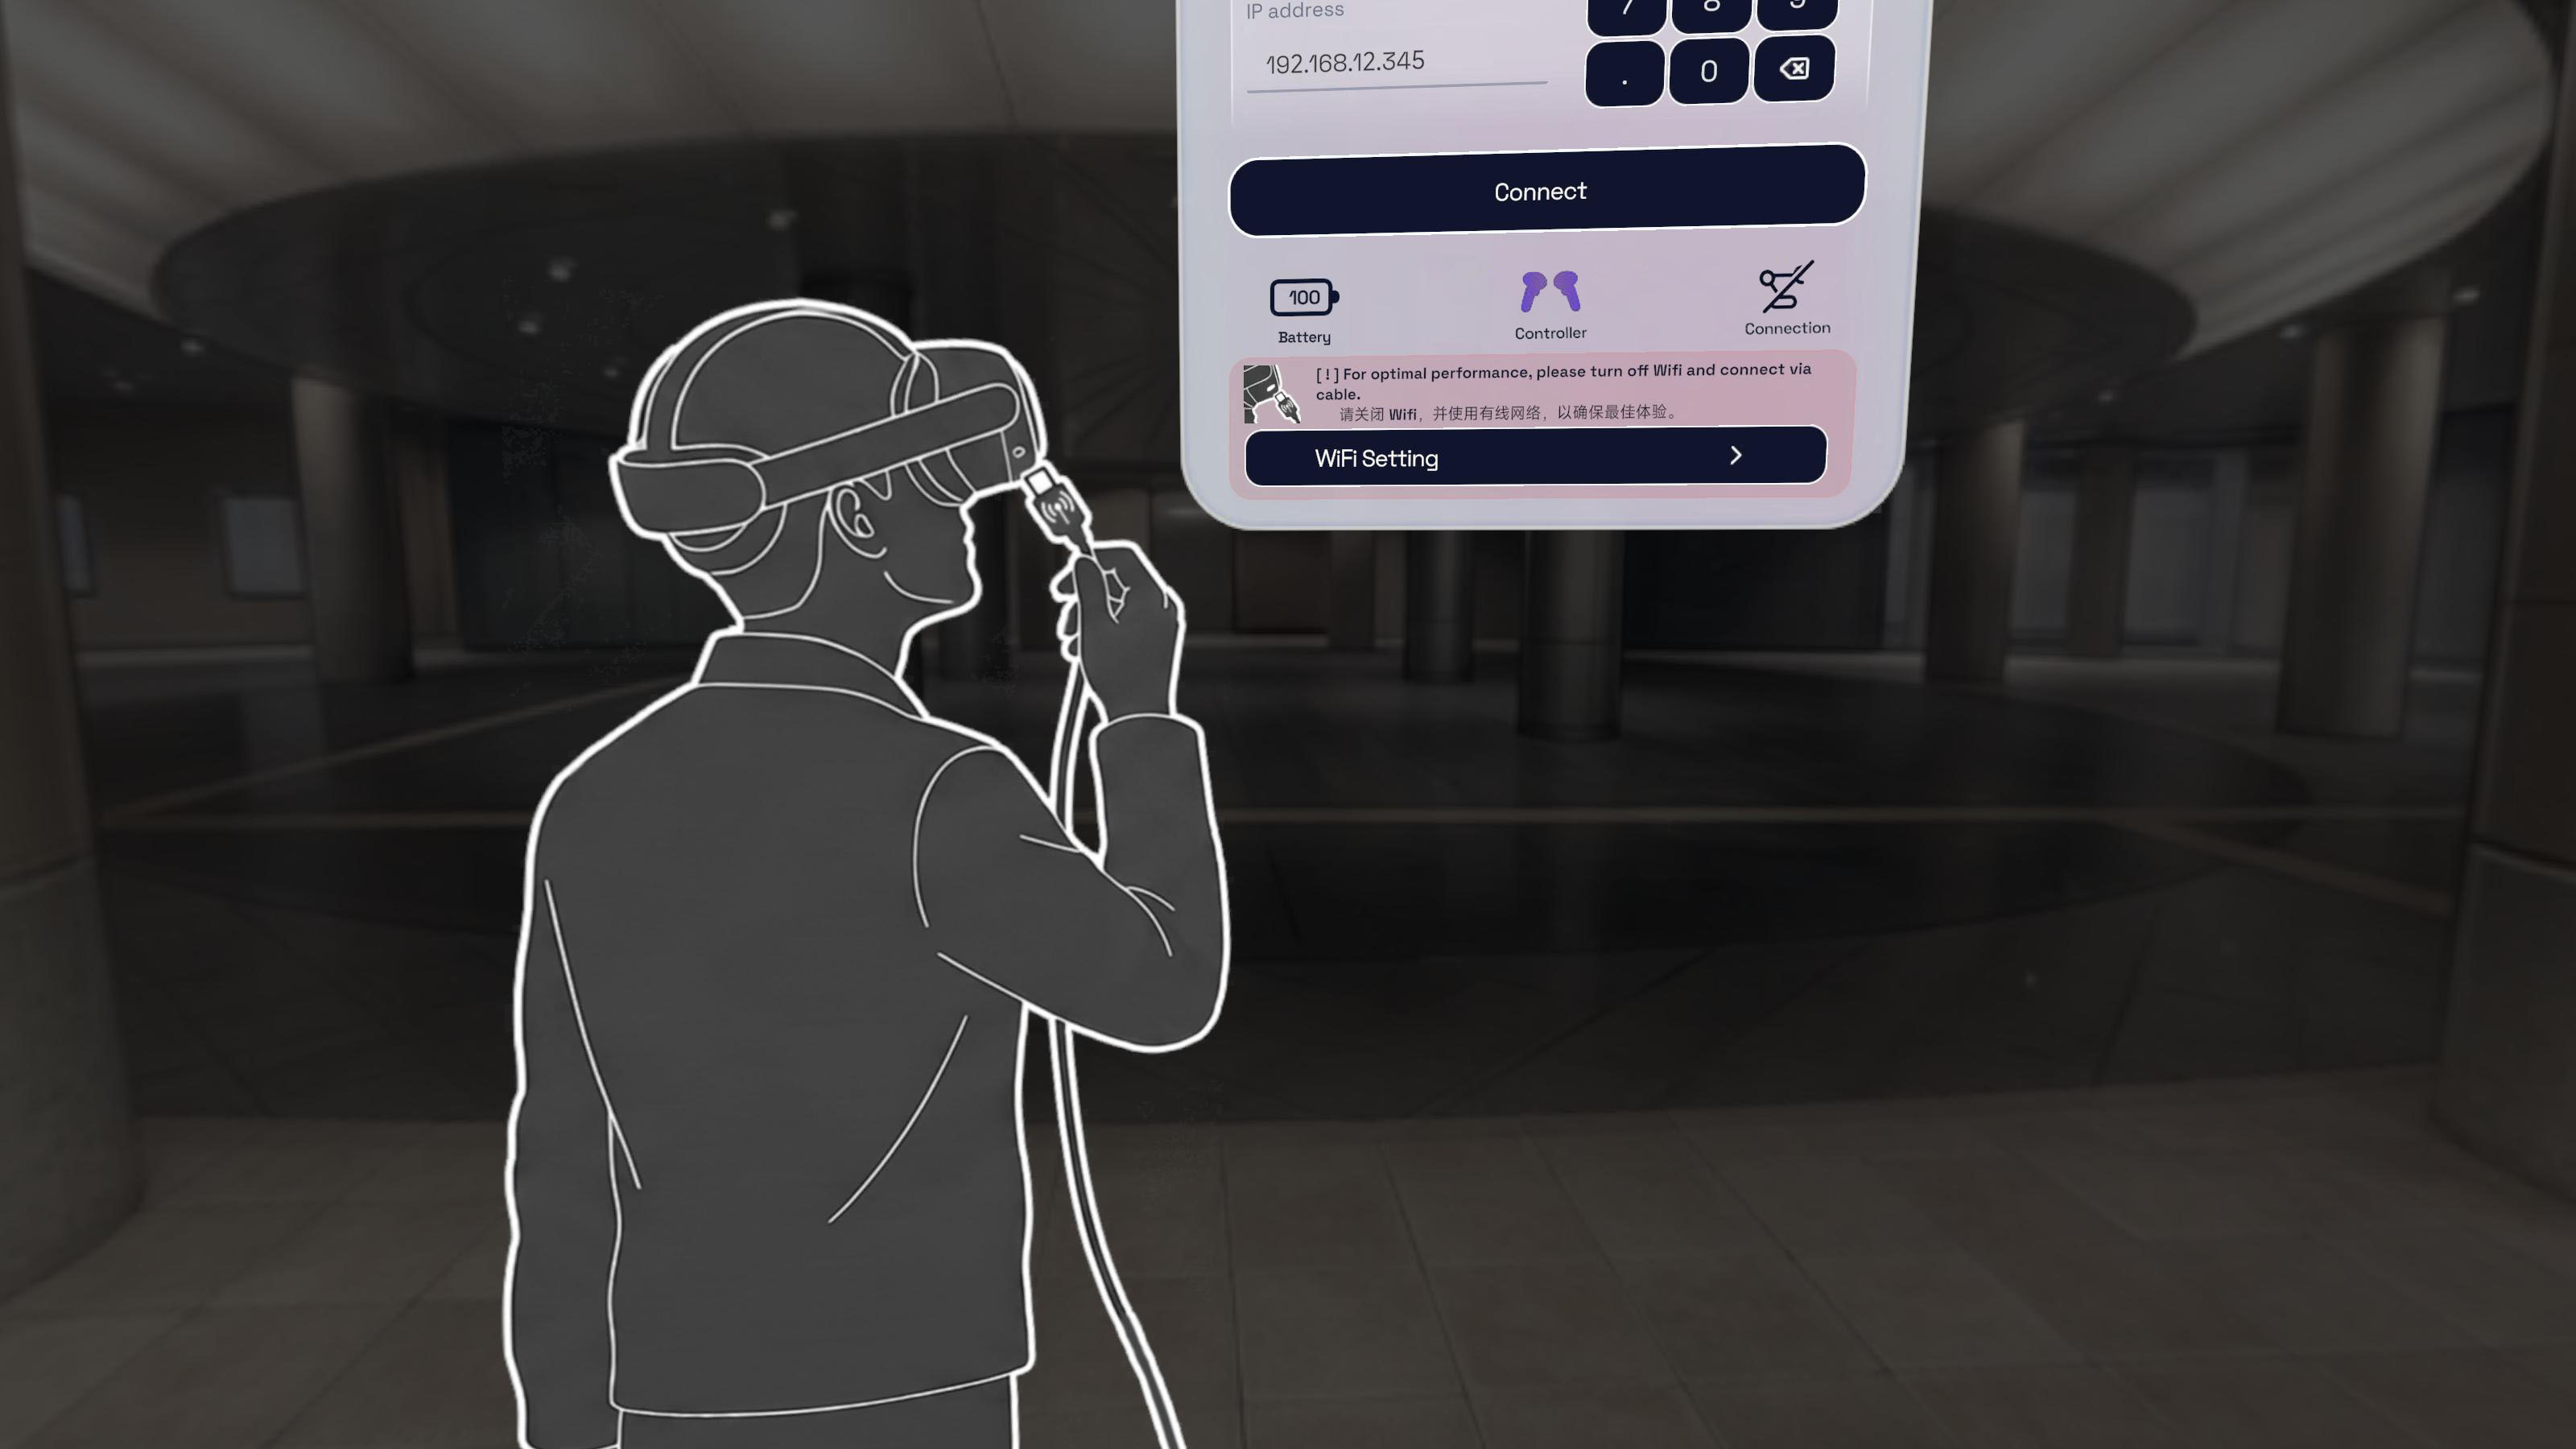
Make sure your headset is connected to host through USB hub and LAN cable for best experience. You are strongly suggested to turn off WiFi in headset in case of any interference during operation. Click on the button below the message to open WiFi setting panel.
Controller Battery
Check your controller battery level before using. If it is too low, the controller will not be able to track and you will not be able to use teleoperation. You may need to charge it or replace batteries for a while and try again. The controller icon near the battery icon shows the real-time tracking status provided by OpenXR Runtime, not the battery numbers.
Boundary
We use your boundary settings to determine the location of the real-world floor and display the position of the virtual robotic arm. If you haven't set up your room boundary, the system UI and virtual robotic arm may appear too high or too low during teleoperation. Please check if your room boundary is correctly configured in Quick Control > Boundary. You must setup the floor height correctly.
Language
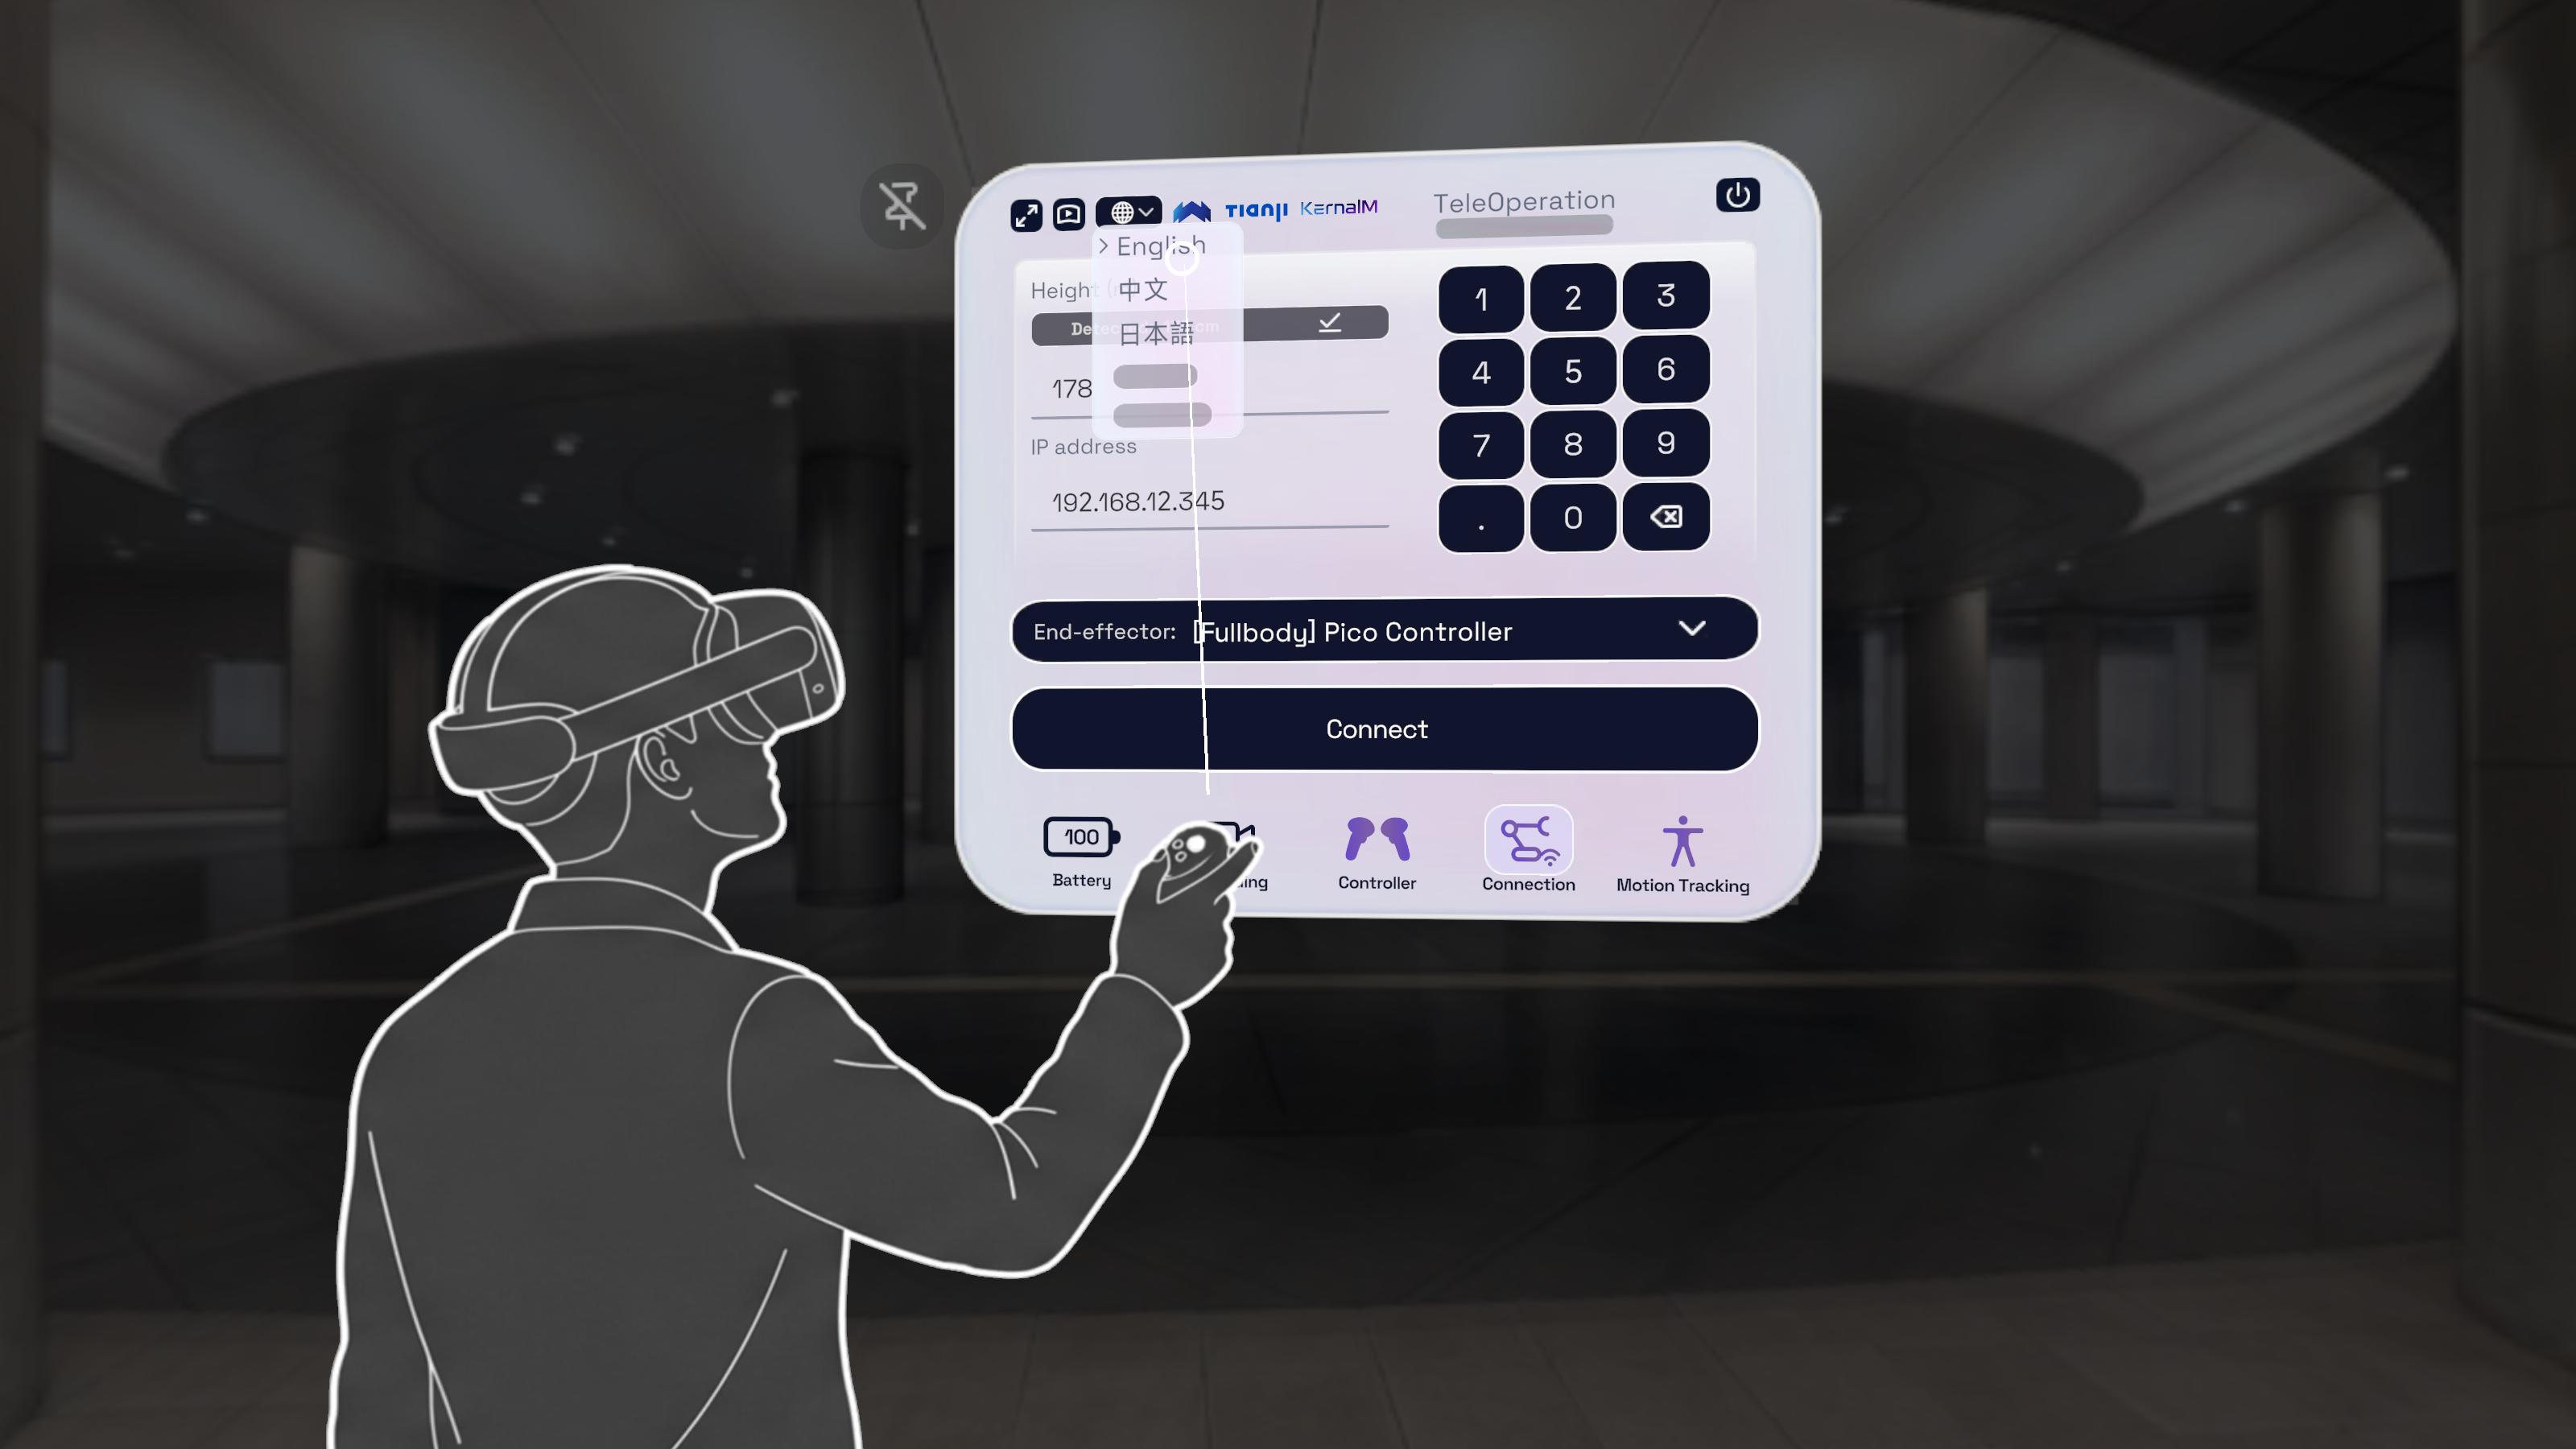
You can change the language by clicking the language dropdown button in the upper left bar of the main panel. We support English, Chinese and Japanese for current version. The change will take effect on speech announcement feature as well.
Important Configurations
Robot End-effector Configuration
This option allows you to freely switch the robotic arm's end-effector configuration, typically between a dexterous hand or a gripper. Depending on the manufacturer's actuator, the corresponding configuration on the XR teleoperation side must also be adjusted.
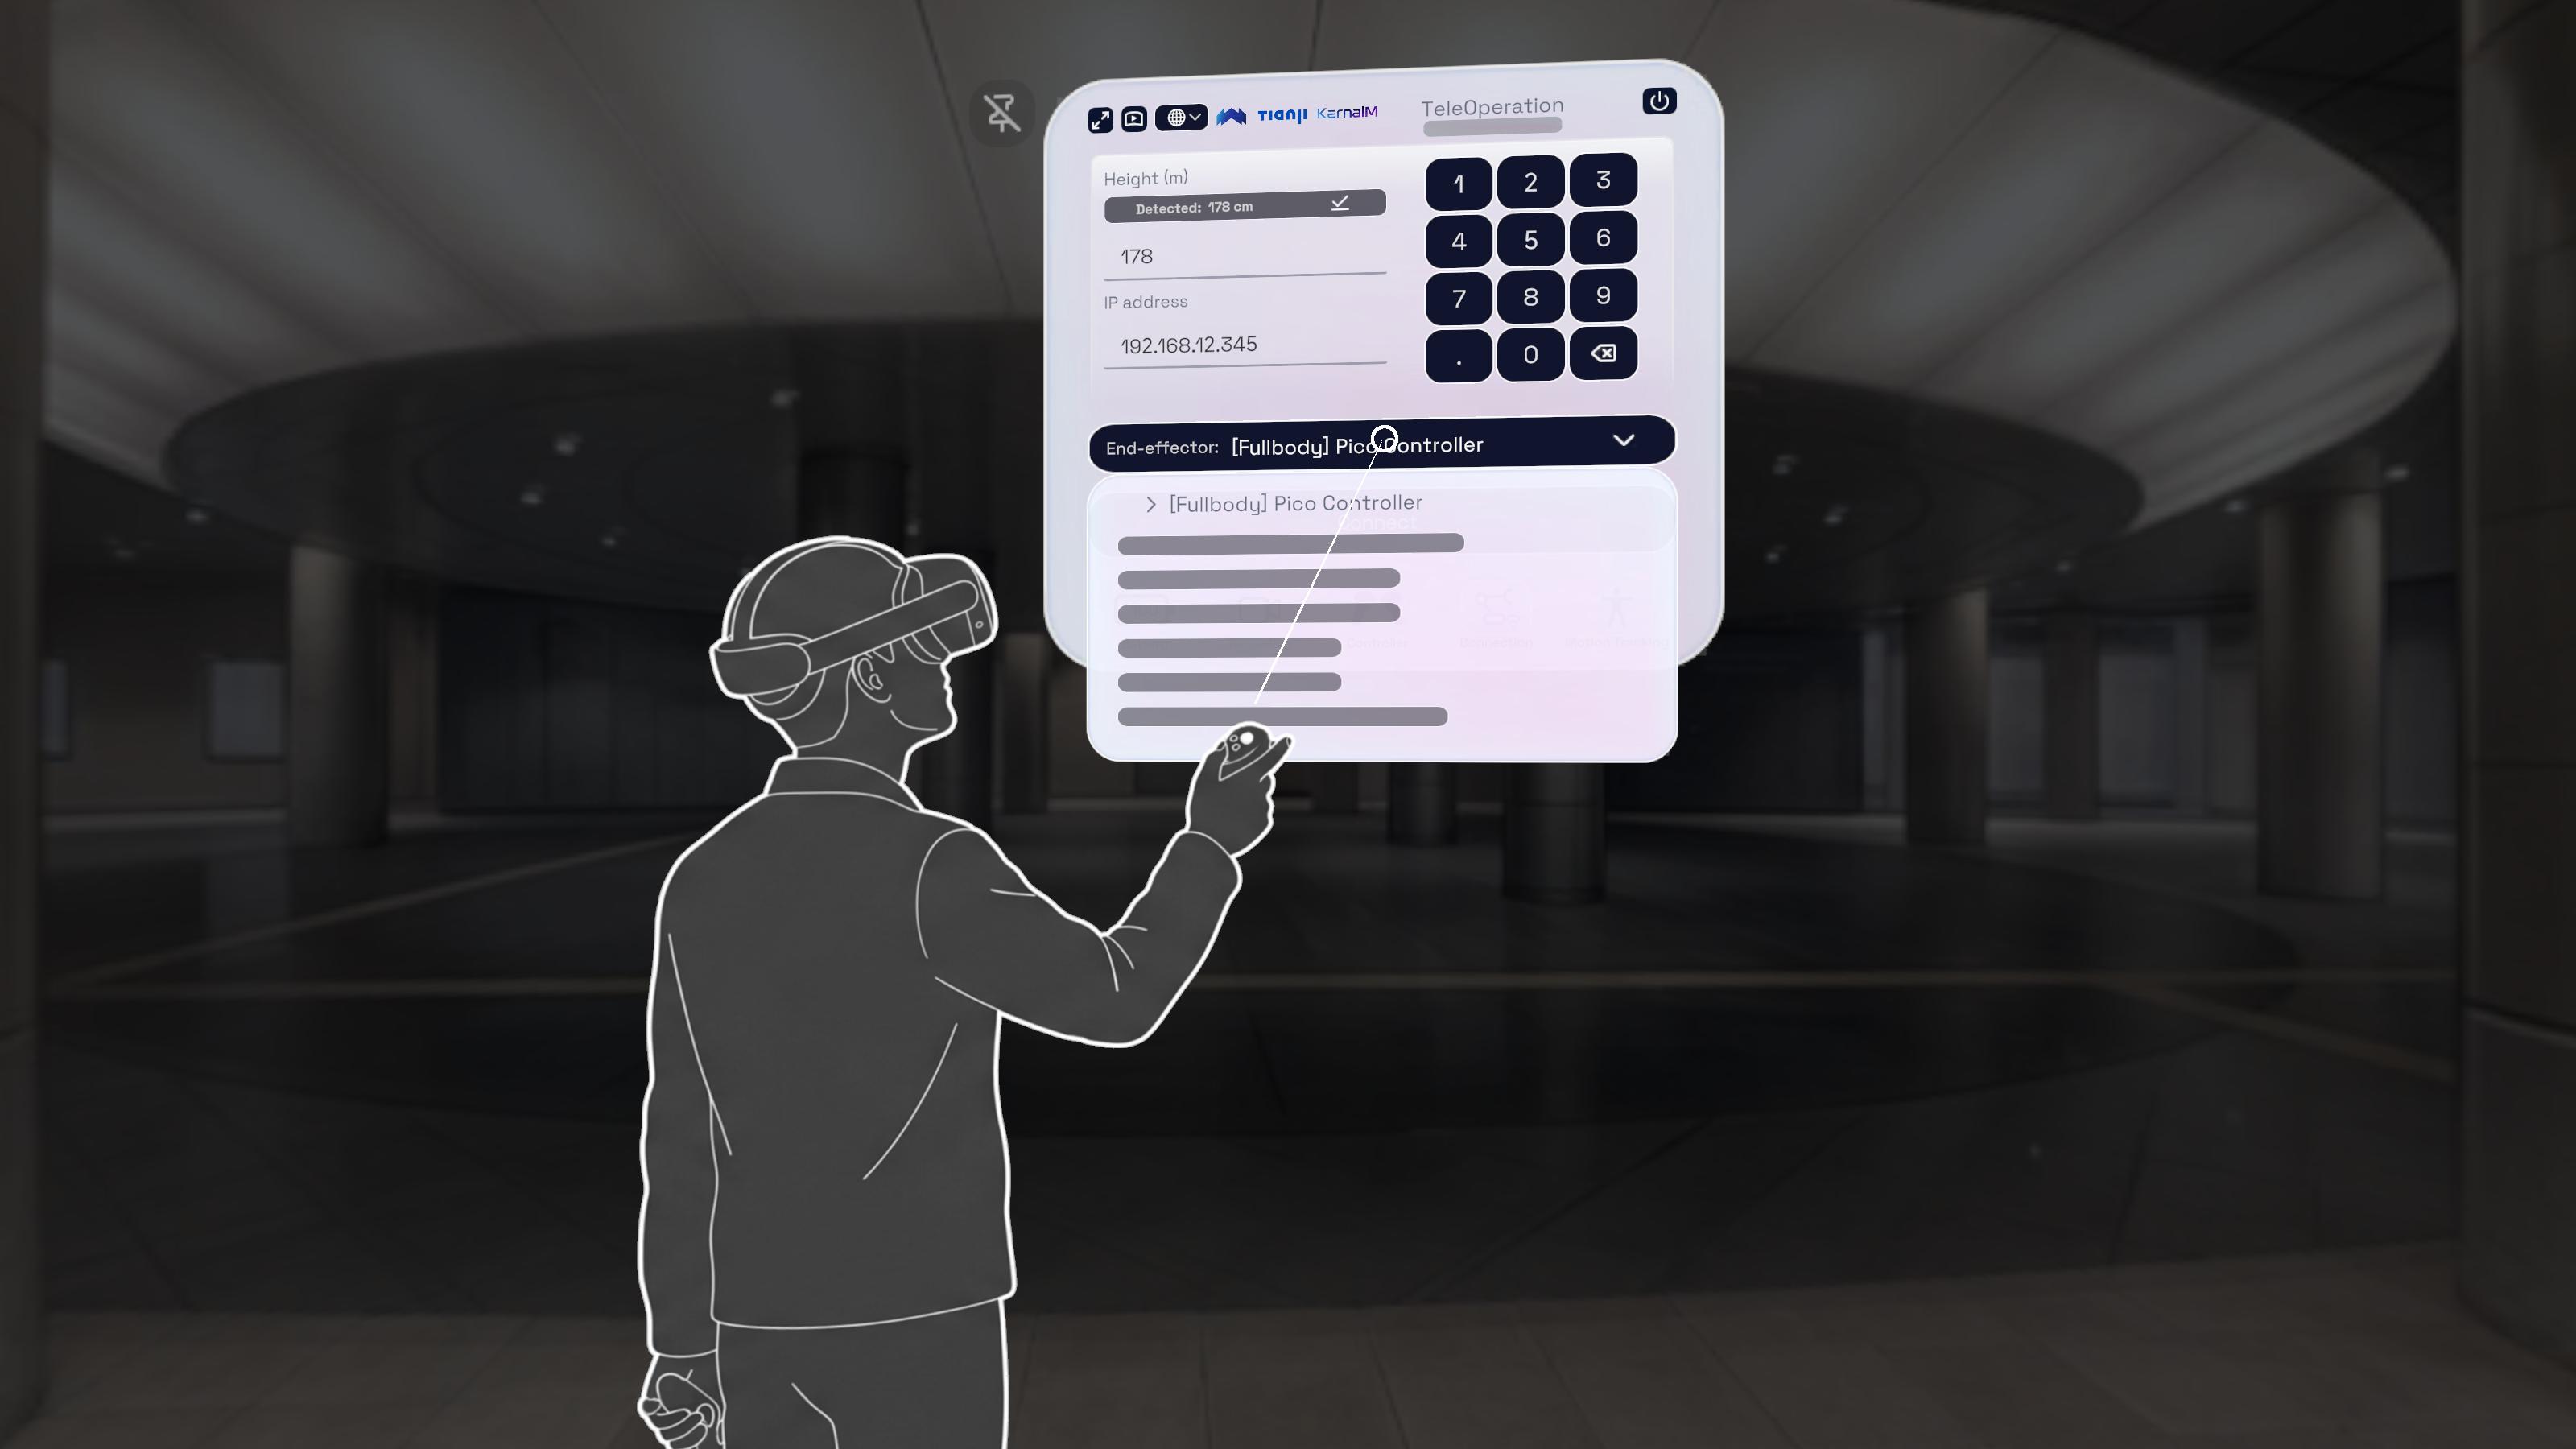
If the robotic arm is equipped with a gripper select Controller.
If the robotic arm is equipped with a dexterous hand select Gloves on the XR side (currently only supporting Manus).
Transport Protocol
Best-Effort
This mode uses UDP to send tracking data. It is the default mode and is recommended for most users. However this causes packet drop and may have jitters. You are recommended to choose this mode when you have good network connection like wired connection.
Reliable
This mode uses TCP to send tracking data. It is slower and may have higher latency. You are recommended to choose this mode when you have bad or unstable network connection, like Wi-Fi.
Body Tracking
Effortless Full-body Tracking
This feature is supported after version 1.0.8
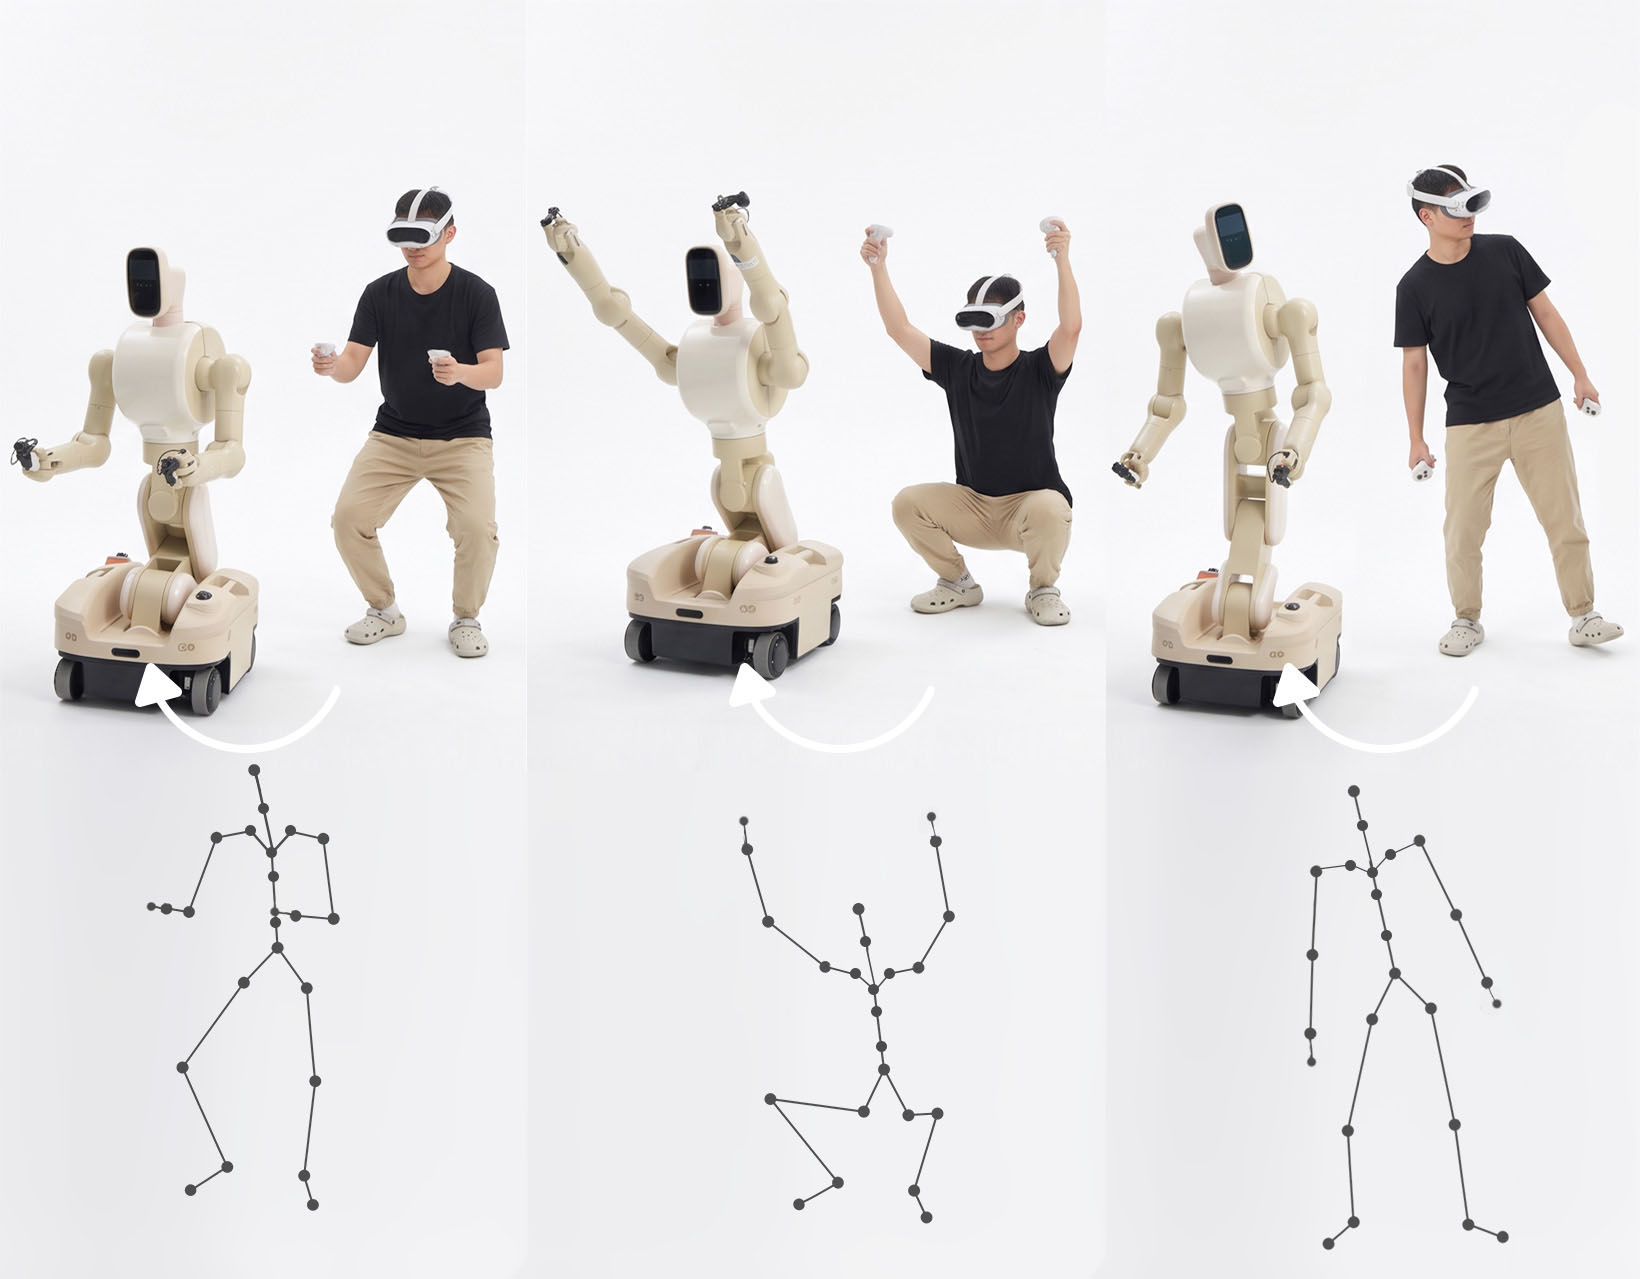
This feature is designed for trackerless teleoperation, taking use of left/right controller and head position to simulate full-body ik within the app. Before using, please make sure the controller and head tracking keep tracked, and switch the mode to this option, click on Calibrate and stretch your arms for 5 seconds. If the skeleton shows up, you're ready to go.
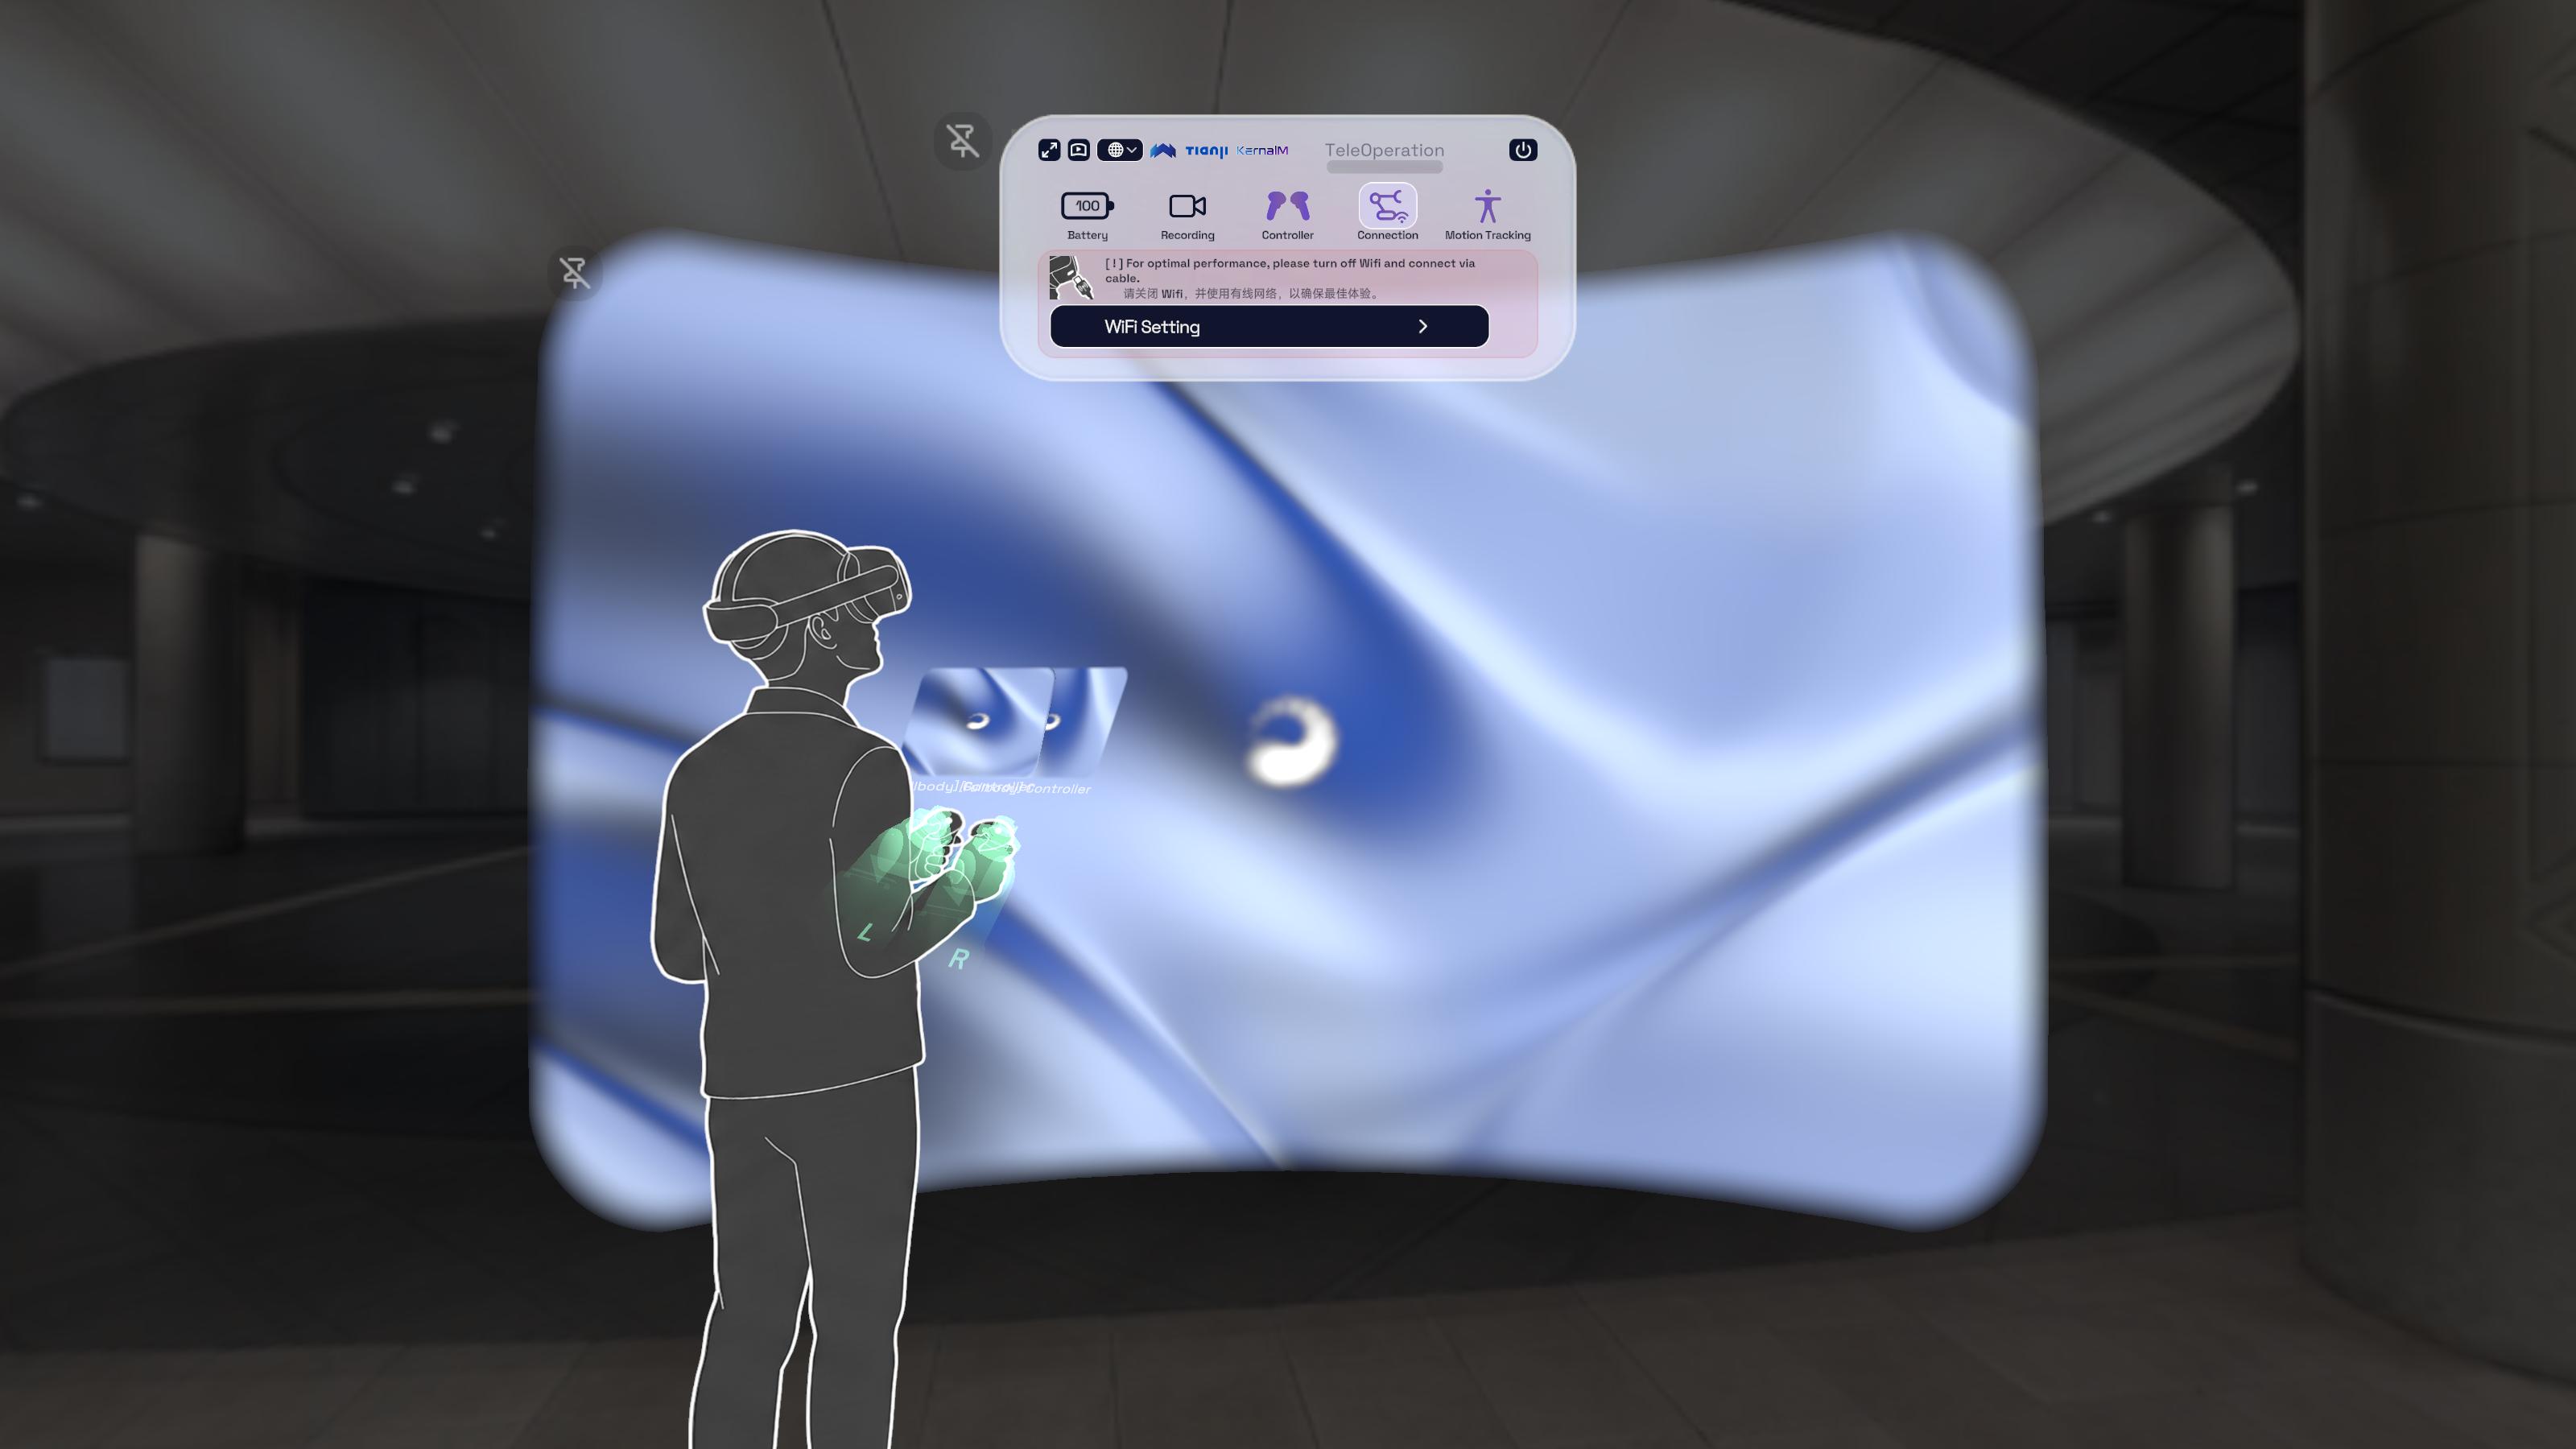
Connect to host
This interface would be shown after you enter the app.
Please enter your host IP address and your height (in cm). You can click the button above the height input field to get an estimated value. If a host address is detected, a button reading ApexHost XXX.XXX.XXX.XXX will also appear above the IP input field; click it to auto-fill the host address into the field.
You can also change the end-effector configuration directly on the main panel (the button is located above the Connect button). Switch the origin configuration of the robotic arm sent out in XR based on different situations (e.g., Gripper, Dexhand) to calibrate the tracker position.
You must exit teleoperation to change configuration, the button remains uninteractable while you are manipulating the robot.
Once you fill IP and height, click on Connect button to connect to host.
- Connect successfully:
- You will receive two short vibration on controllers both hands.
- The
Connectionicon will change.
- Connect fail:
- You will receive a long vibration on controllers both hands.
- The
Connectionicon does not make any changes.
Host Recording
Press the B button on your right controller to notify the host to start or stop recording. Voice prompts will indicate whether the recording started successfully or failed.
Before using this feature, please ensure that the HTTP connection between the headset and the host is functioning correctly. You can verify this by checking the recording icon on the main panel; if there is no exclamation mark, it indicates the current connection is normal.
How to start and end teleoperation
After connect to the host, you can start teleoperation by pressing the Y button on your left controller. The interface would show you the status of connection. In this mode, you can use the controllers to control the robot. Press the X button to end teleoperation. There will be voice prompts when starting and ending the process. If a low battery or device disconnection occurs during operation, the teleoperation will automatically disconnect, accompanied by controller vibrations.
Align your hand with the virtual robotic arm and hold the Grip button to start teleoperating. Release the Grip button to pause. We strongly recommend pressing the X button to exit teleoperation completely whenever you are paused or not actively controlling the arm.
On the main panel, if the left and right controller icons are lit up and not red, it indicates that the controller tracking is normal.
During teleoperation, you will see the video streaming views as shown below:
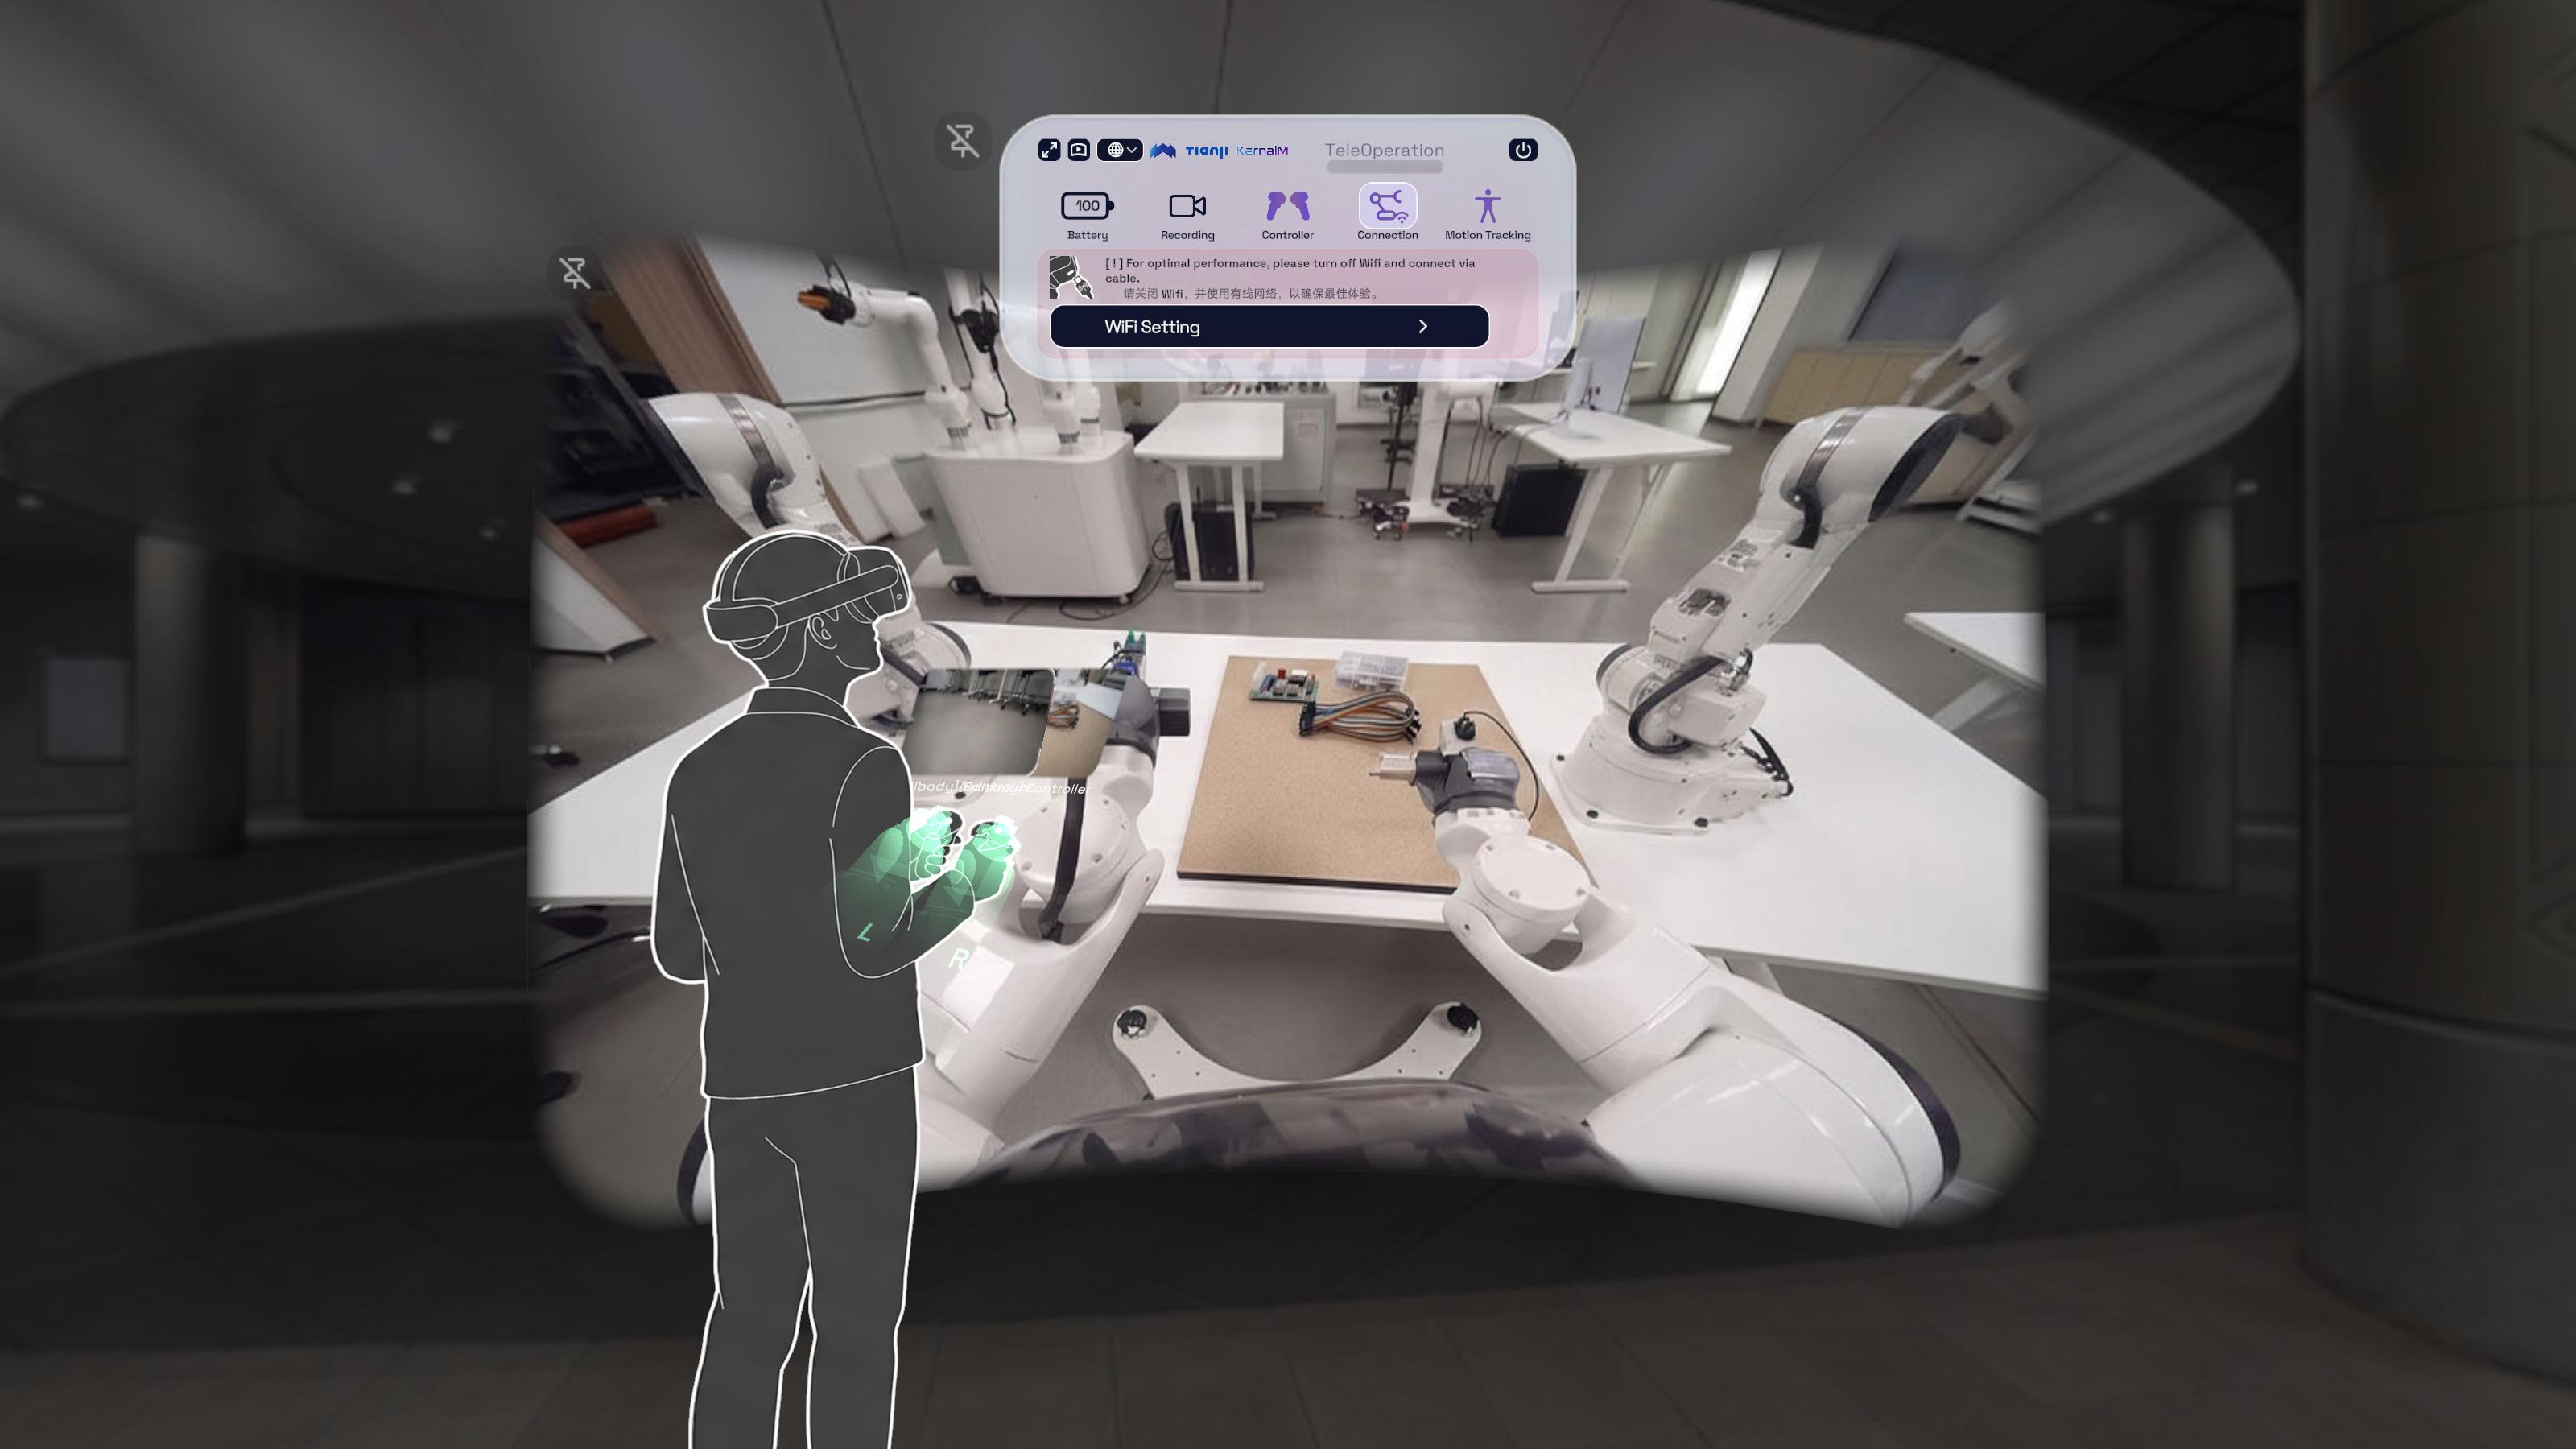
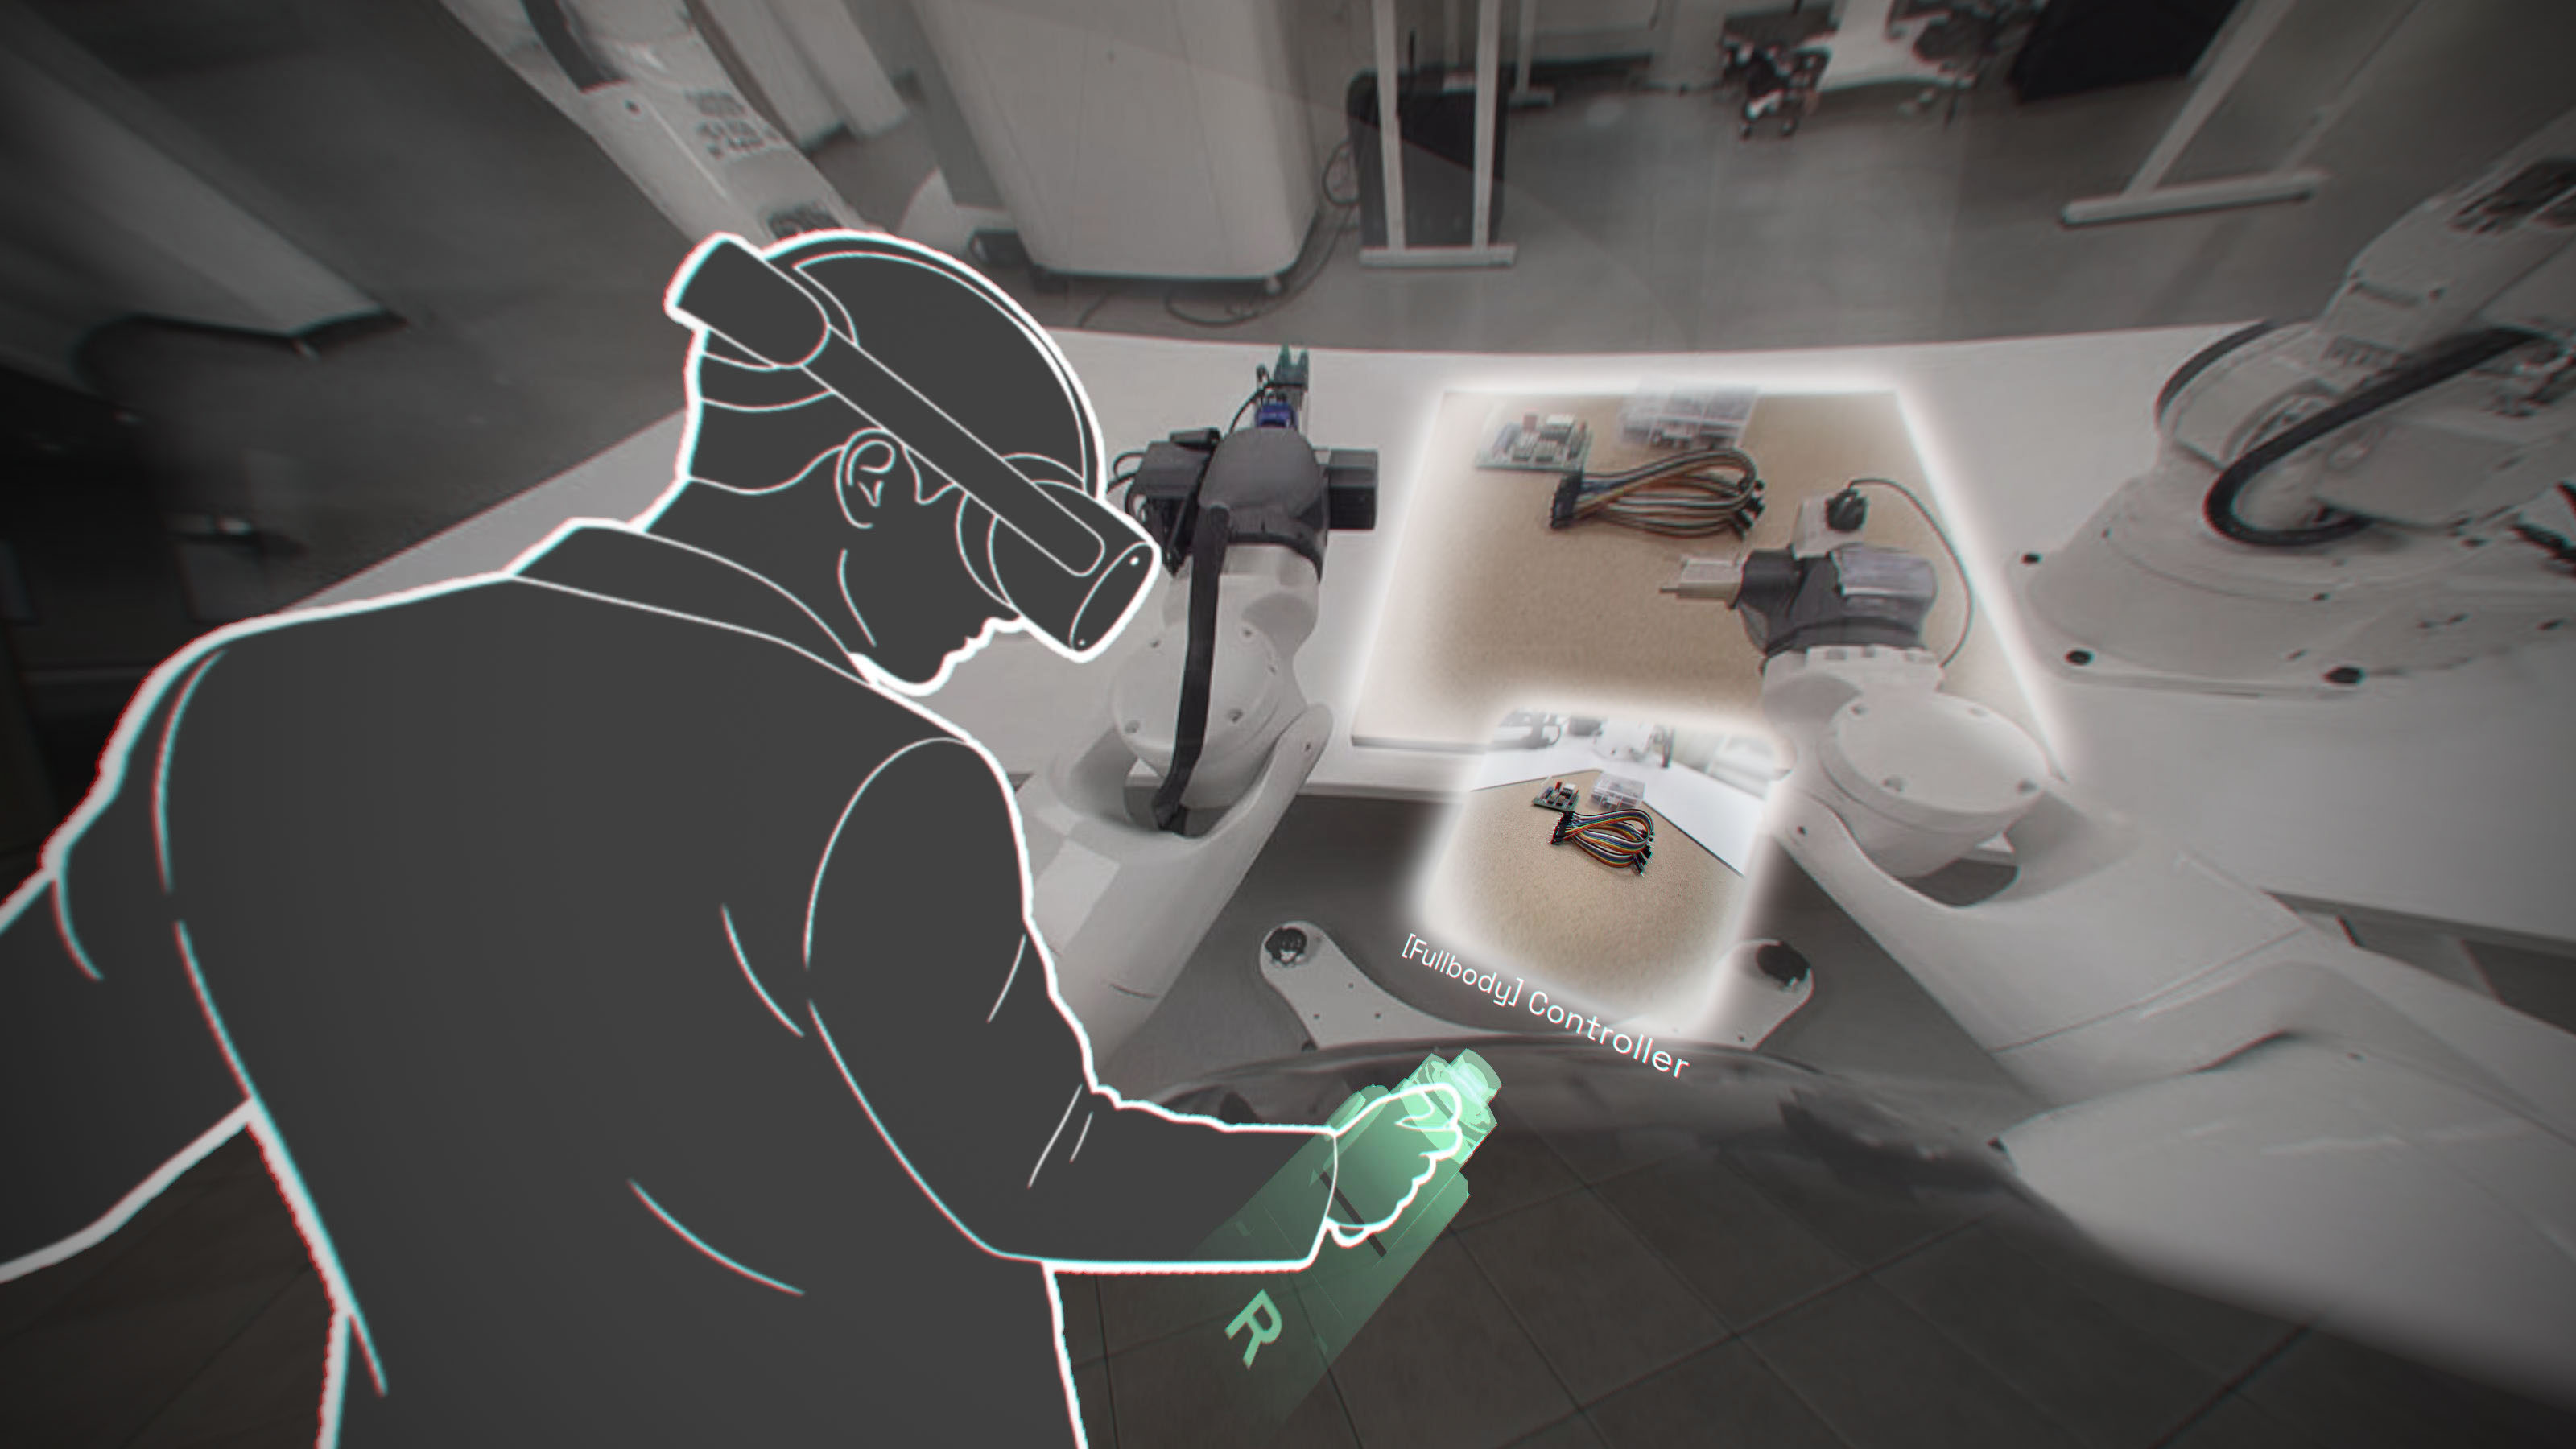
In the focused view, besides the main binocular camera stream in the center, you can also see the video streams from the left and right wrist cameras on both sides of the robotic arm. This added detail significantly enhances the accuracy of teleoperation control.
Stream and Play the XR App
This feature is supported after Version 1.0.8.
Once you opened the teleoperation app, the stream link will appear at the bottom of the main panel, as what is showed below:
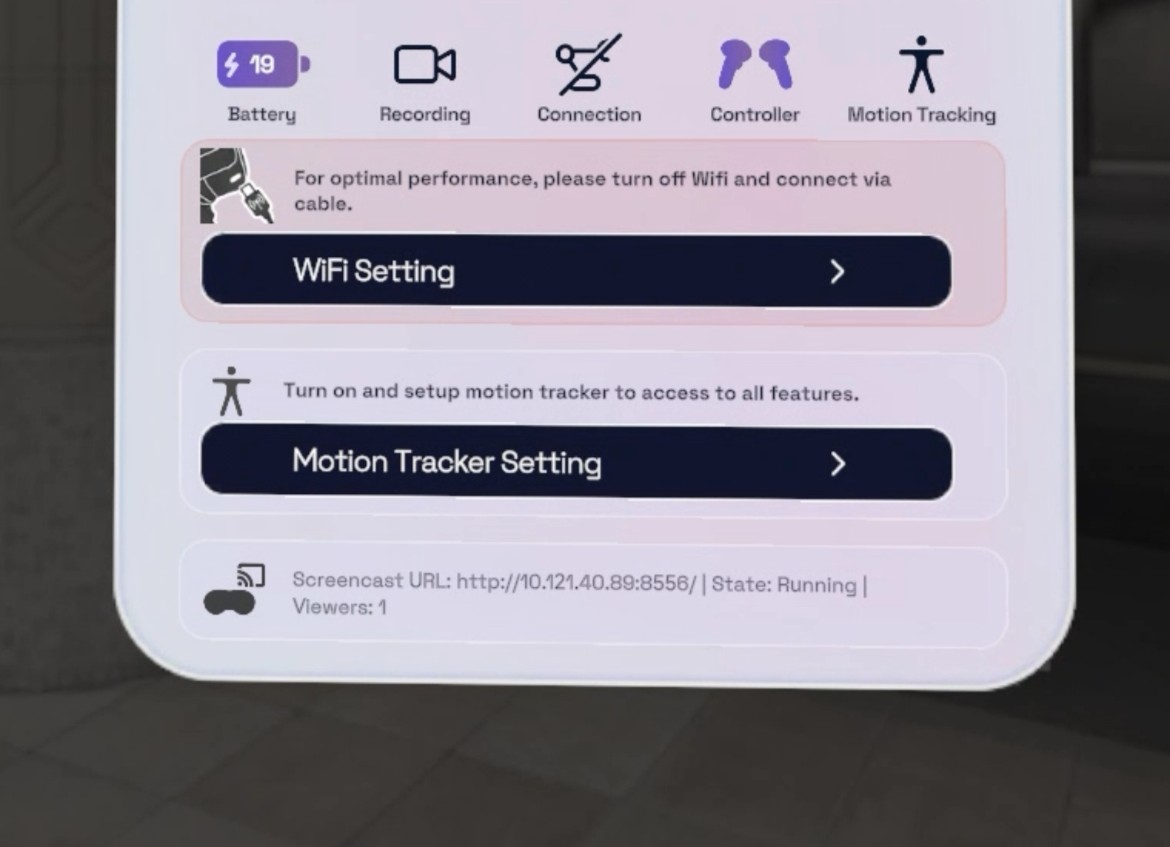
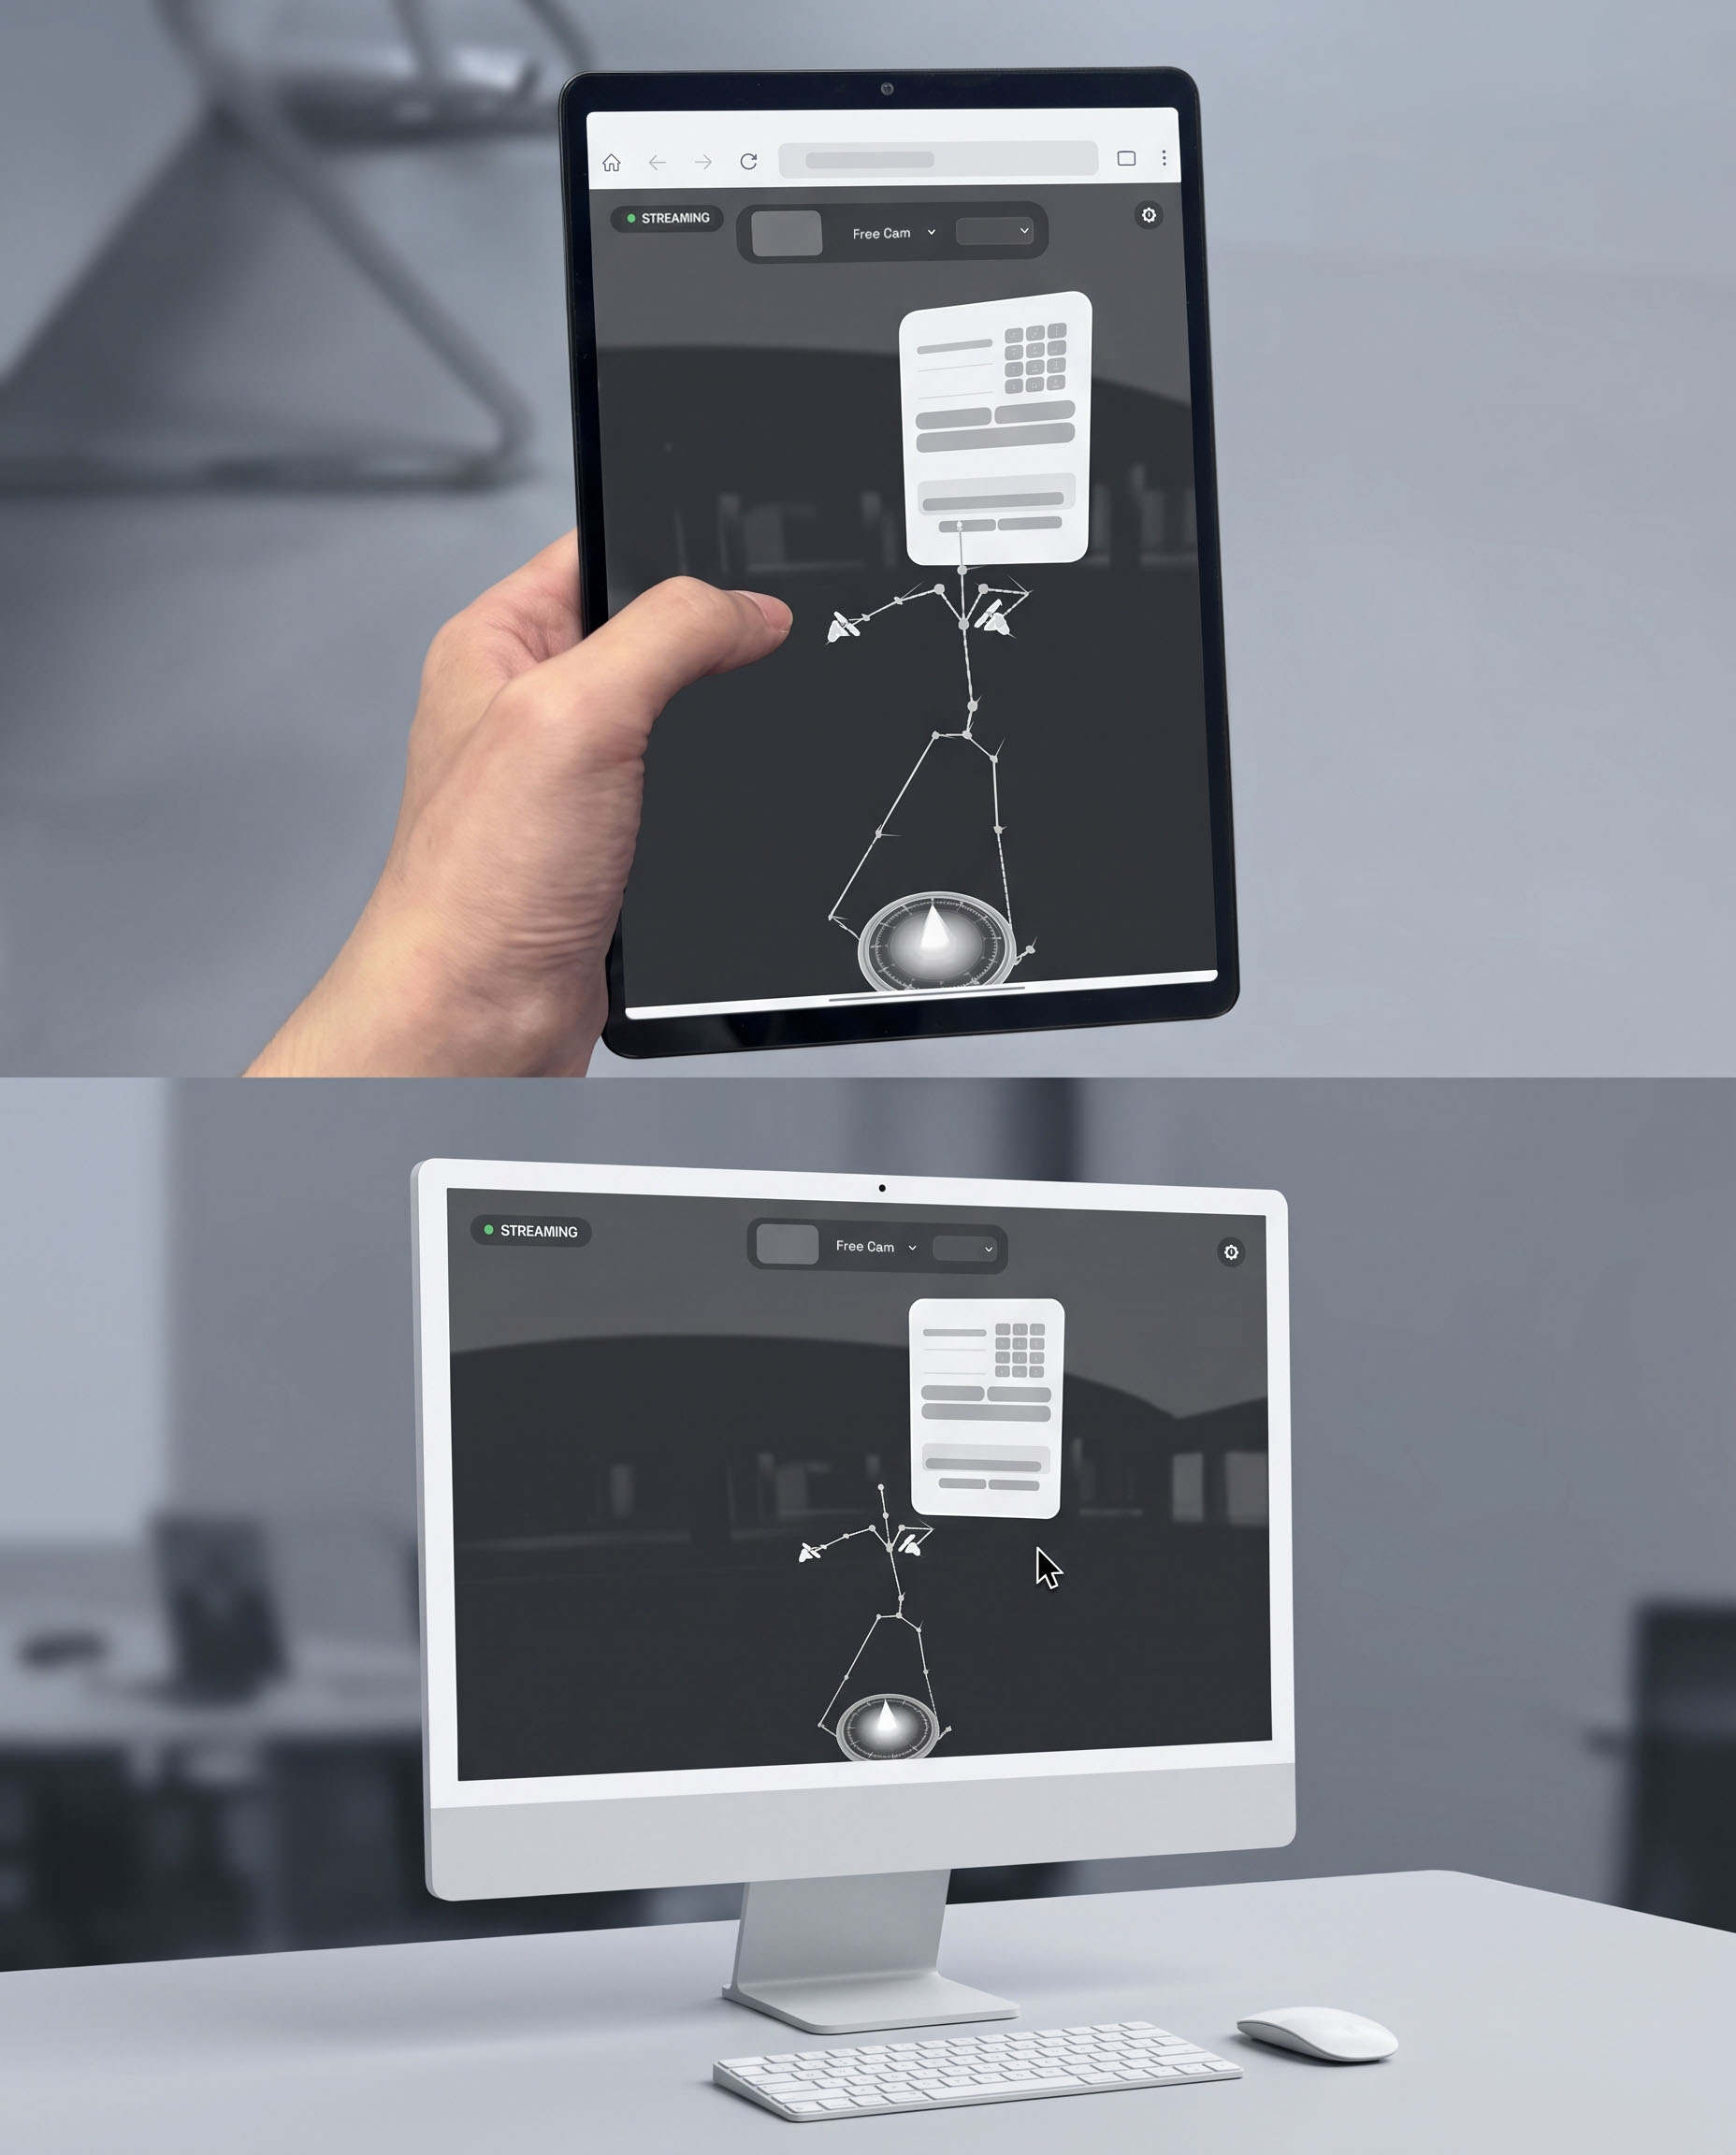
You can open this stream in your computer browser by entering the link shown above into the browser. You device and the XR device must be under the same network.
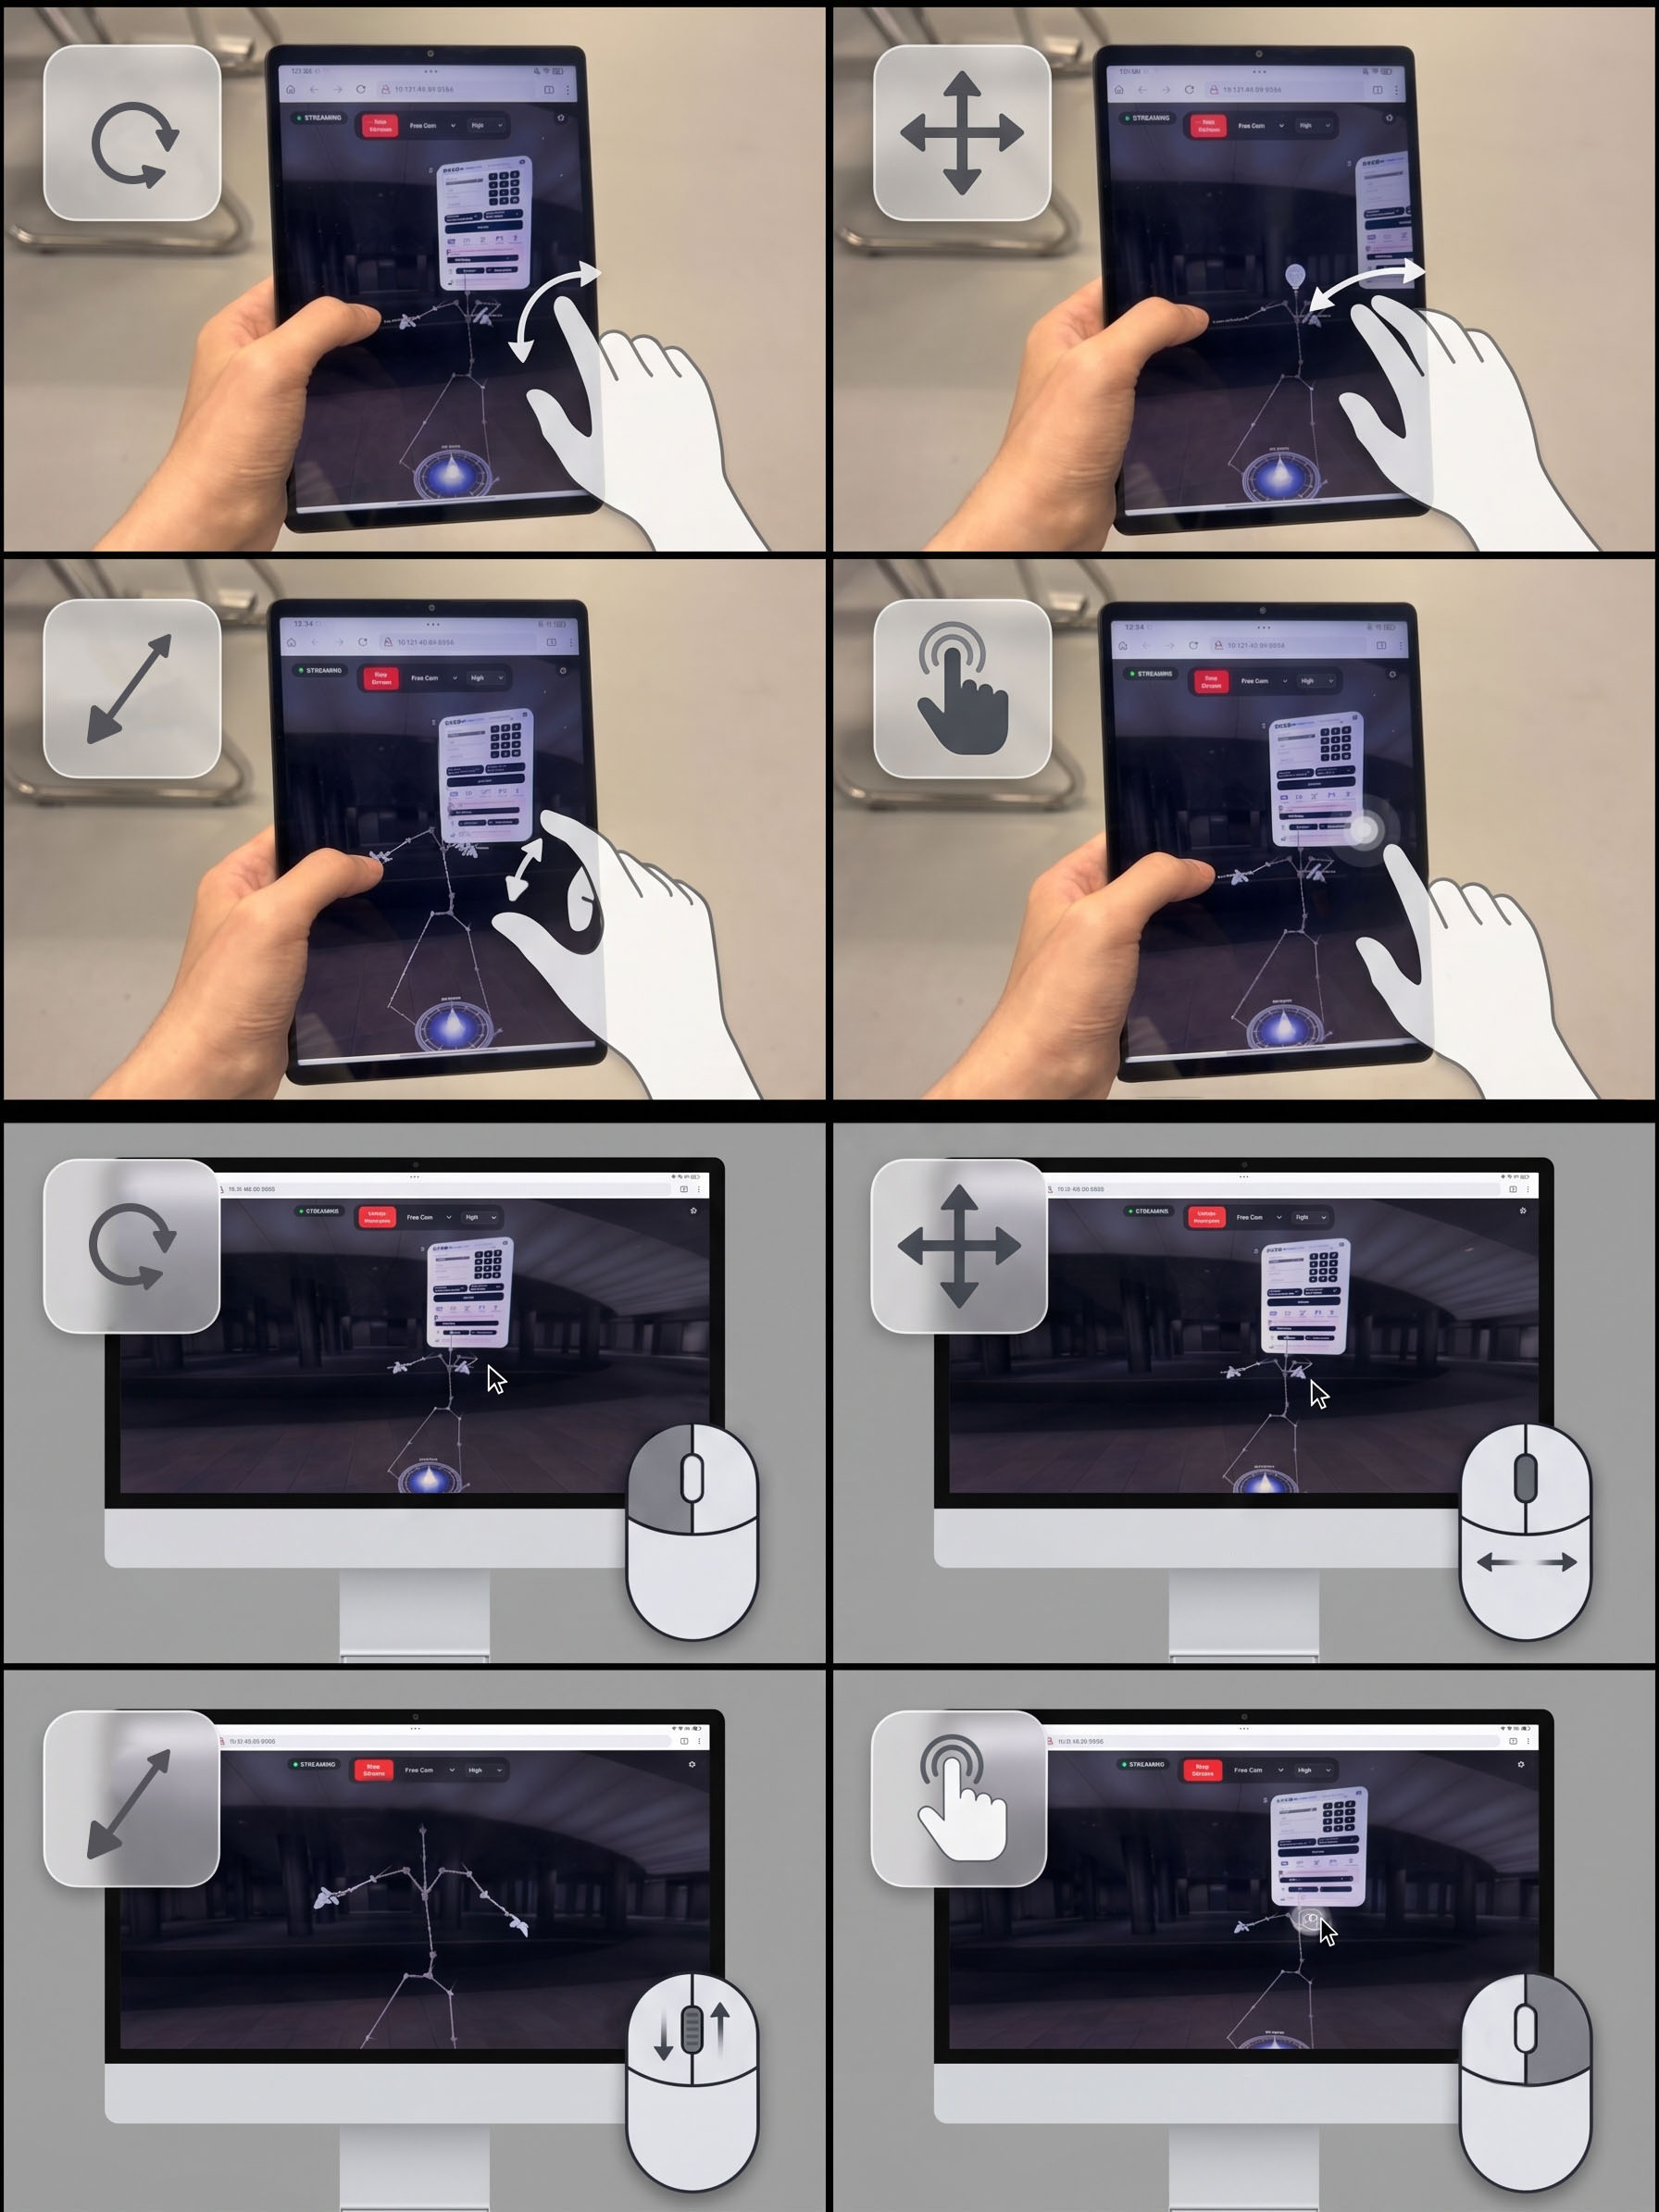
There are two modes when viewing XR stream: First-Person and Free Cam mode. In Free Cam mode you can drag and click. This mode is designed for assisting the non-professional users, First-Person mode is view-only . There are three modes of stream quality: low, regular, and high.
How to enter Developer Mode
This is for developer use only. You may bring safety issues to both of your device and the robot. Please enable it only when you know what you are doing.
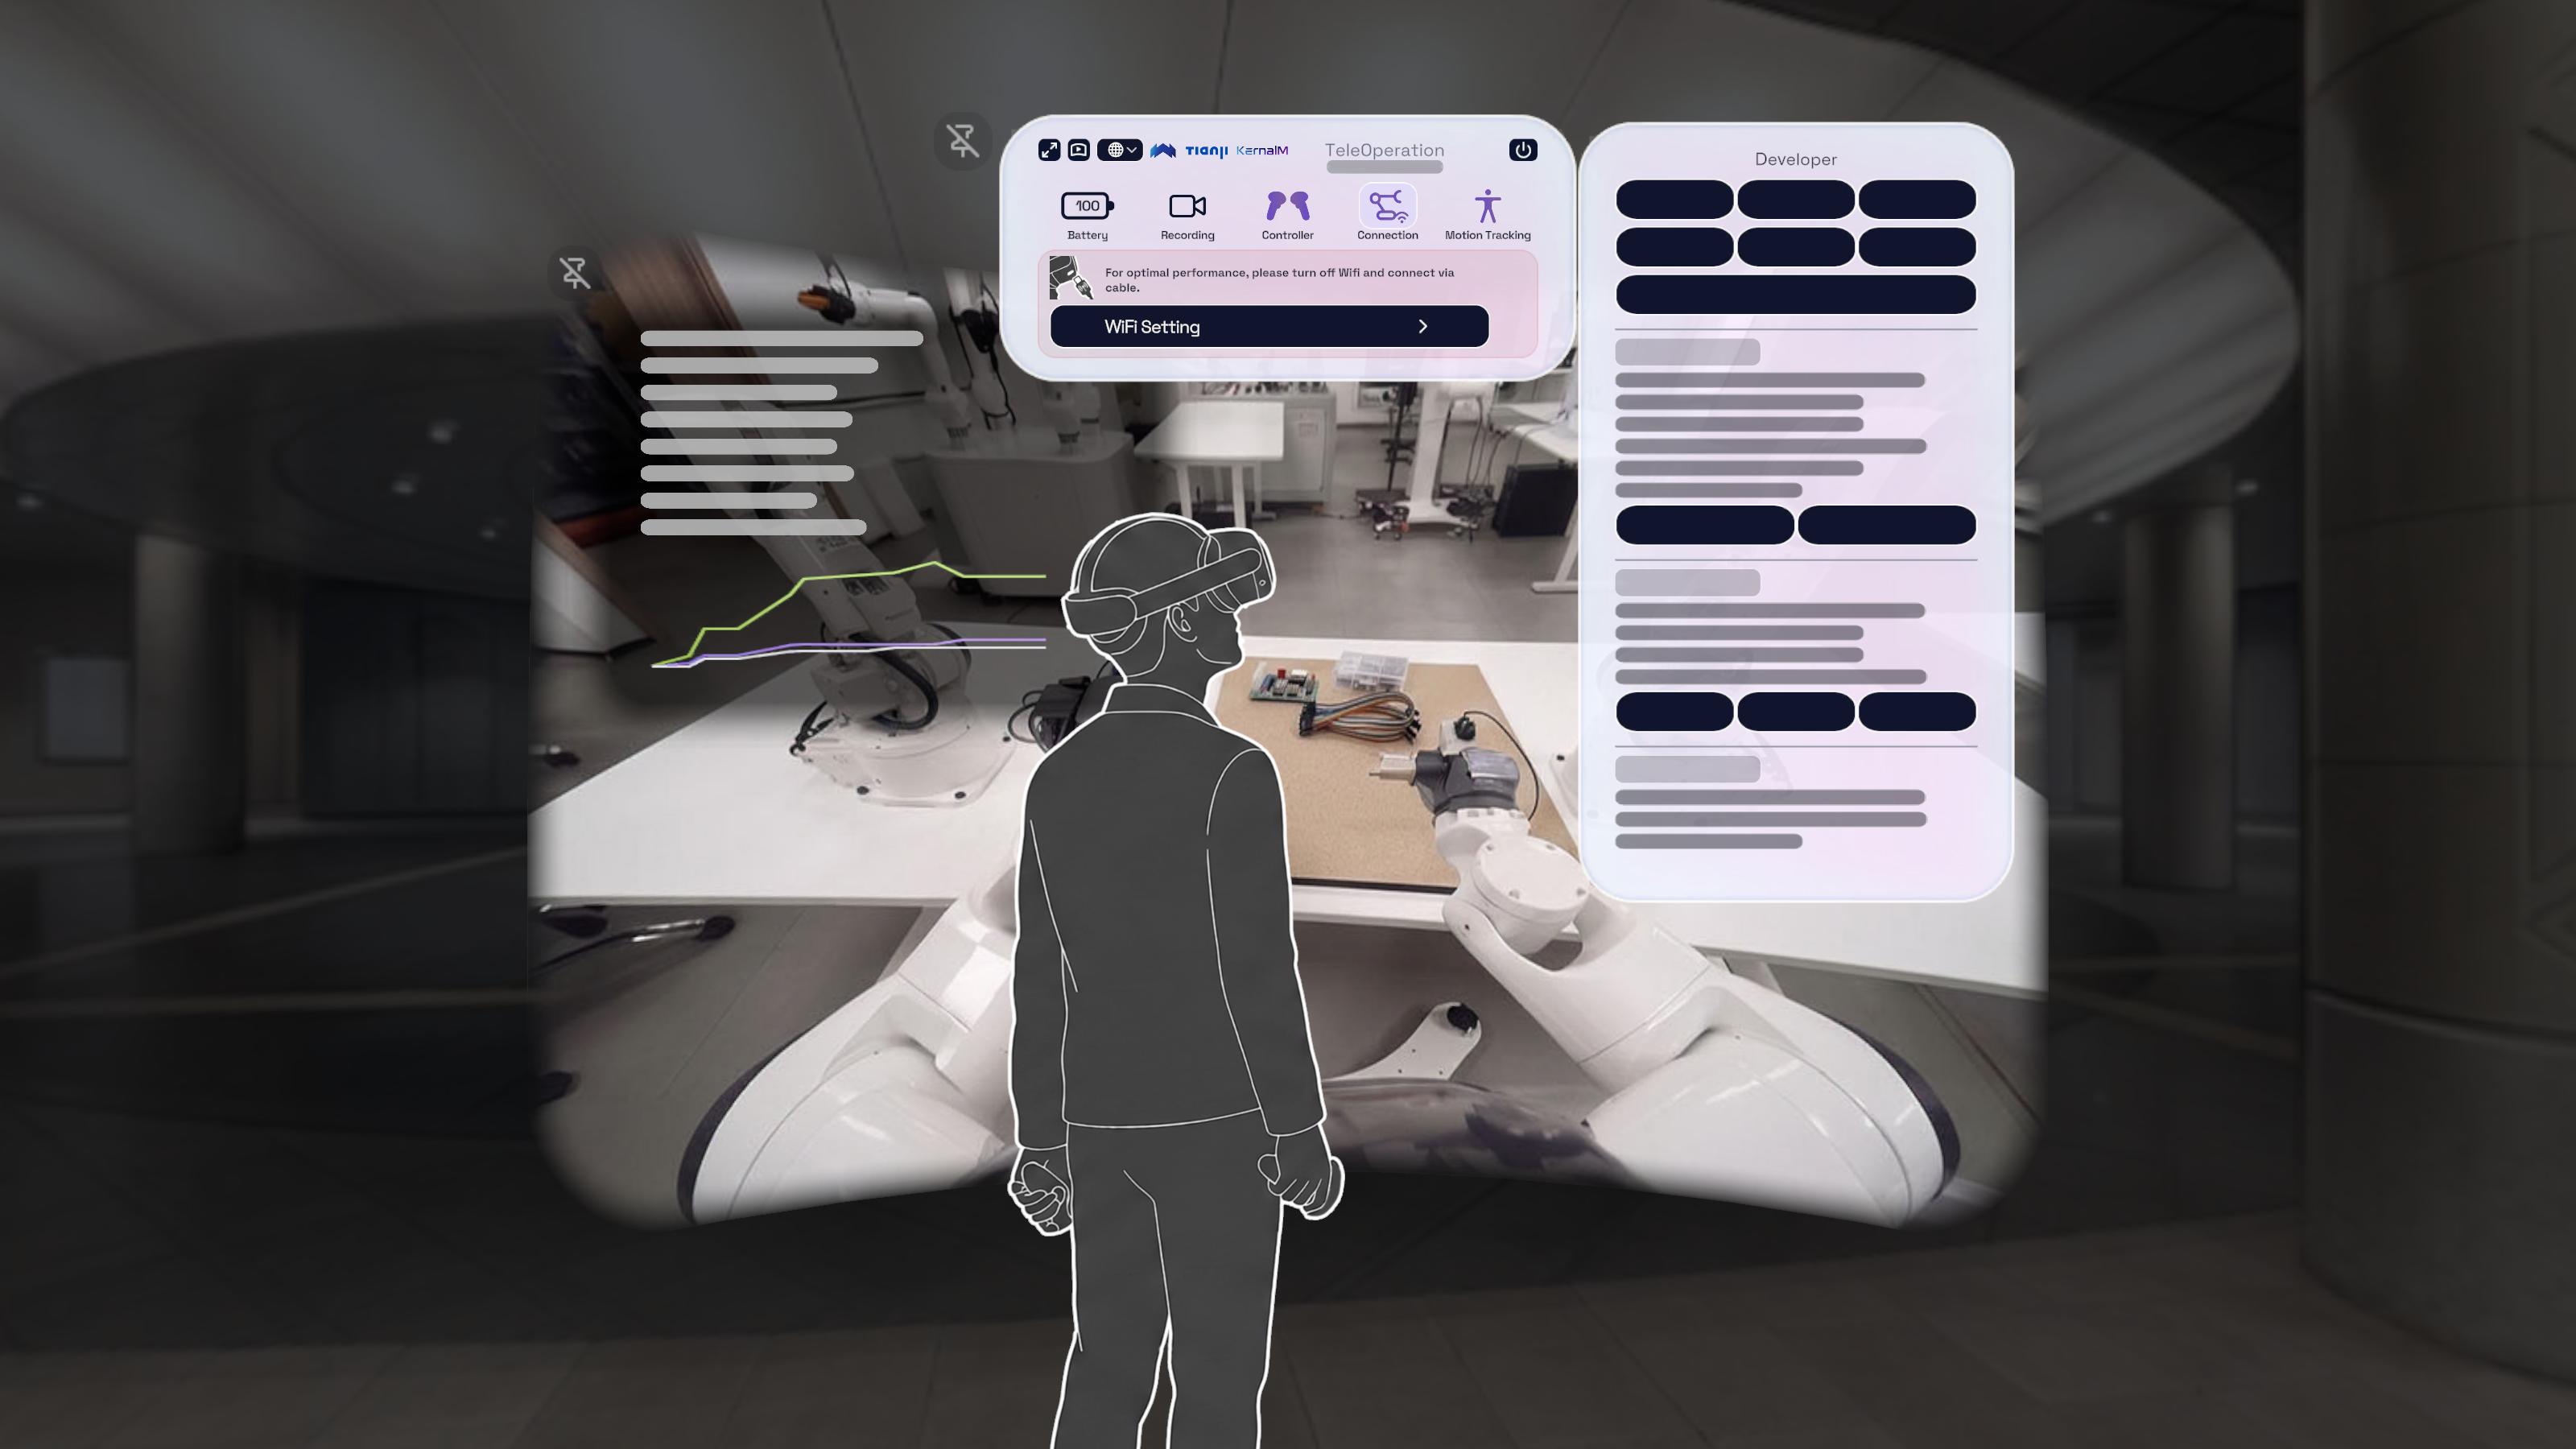
Click on logo on the top row of the panel to open developer panel. You will see new options appear next to the main panel. The App uses TCP for host communication, UDP for robot control and receives teleoperation data from robot, and WebRTC for video streaming.
Click again to close developer panel.
What can you do in Developer Mode?
In developer mode, you can check the communication details and specific logs between the host and the headset, monitor video transmission and decoding status, configure individual ports, and perform other advanced and fine-grained configurations:
- Change Host connection, Spatial Video, and Data ports individually.
- Test Host connection, Spatial Video, and Data connection status and disconnect/connect them individually.
- See App log regarding to Host connection, Spatial Video, and Data.
Safety check
[To be updated.]
Lookup table for interactions
| Controller | Button | Function | |
|---|---|---|---|
| Left Hand | Menu Button | Maximize/Minimize Panel | 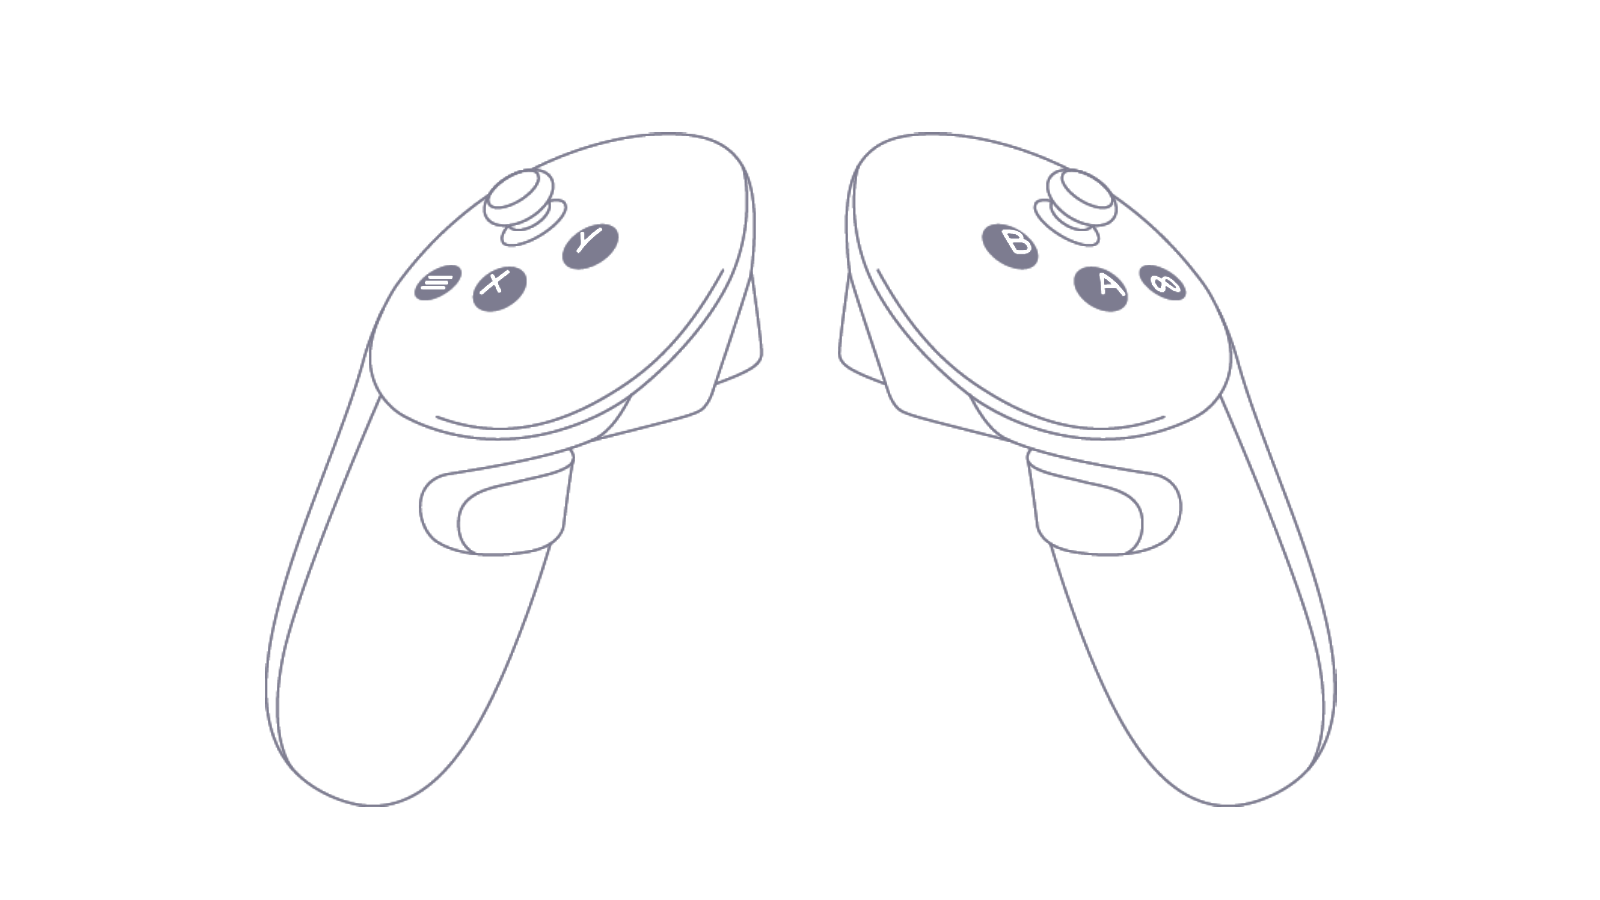 |
| Left Hand | Y Button | Start teleoperation | |
| Left Hand | X Button | Exit teleoperation | |
| Right Hand | A Button | Robot pose reset | |
| Right Hand | B Button | Start/Stop host recording | |
| Right Hand | Menu Button | Hold to reset XR origin | |
| Both Hands | Trigger | Click UI, Control Gripper | |
| Both Hands | Grip | Hold to control robot |
Known issues
Why does the robotic arm twitch or slowly drift when the controller is fully occluded?
This system uses optical tracking between the headset and controllers. If the controller is fully occluded, tracking is lost. However, detecting tracking loss requires a brief time threshold. If the controller is abruptly blocked and quickly restored, the underlying system may fail to notify the application layer in time.
While we have implemented jitter filtering for safety, slow pose drift cannot be entirely eliminated. If users notice any slow drifting during teleoperation, they should stop operating immediately.
Control of the robotic arm will automatically and immediately halt if optical tracking is confirmed lost or if controller batteries are depleted.
Cannot find the "Unknown Sources" entry on Quest and unable to open the app?
Solution 1: Launch via ADB command
Connect Quest to a PC via USB cable. You need to manually allow USB debugging for this computer on the headset prompt. Run the following ADB command in command line to launch the app directly:
adb shell monkey -p com.KernalMind.Apex_Teleop -c android.intent.category.LAUNCHER 1
Solution 2: Install AnExplorer VR File Manager and Quest Tool
- Search and install
AnExplorer VR File Managerfrom the official Quest Store (this app will not appear in Unknown Sources). To install theQuest Toolapp, visit the Quest Tool Download Page to get the package. - Open
AnExplorerin the headset, and launchQuest Toolinside it. - Launch the
Apex Teleopapp from withinQuest Tool.
Solution 3: Connect via Proxy Network
Connect to a proxy network routed to a US node. Once connected, the "Unknown Sources" entry in the Quest system interface will usually reappear.